HowTo: Add Python 3 kernel to Jupyter Notebook
TWSC Interactive Container provides Jupyter Notebook by default. It is a web-based integrated development environment to write scripts, display output, visualize data... and many other functions. In addition, it can install multiple computing kernels of programming languages according to needs.
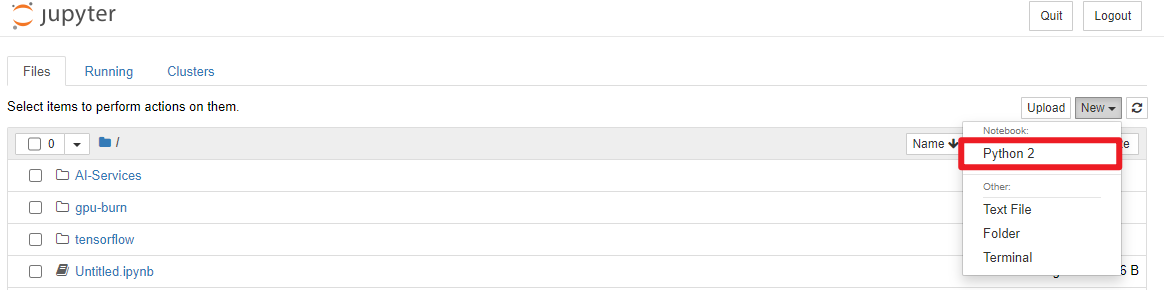
In some of TWSC container images (such as caffe-19.08-py2:latest), the Jupyter Notebook only supports Python 2 kernel (as shown in the figure below). We will show you how to add Python 3 Kernel to create a convenient computing environment!
Step 1. Connect to your Interactive Container
Please refer to Connect to a container to connect to your Interactive Container.
Step 2. Install Python 3 Kernel
Switch to the root user and install Python 3 kernel:
sudo su
apt-get update
apt-get install python3-pip
python3 -m pip install ipykernel
python3 -m ipykernel install
Step 3. Make sure that the installation is complete
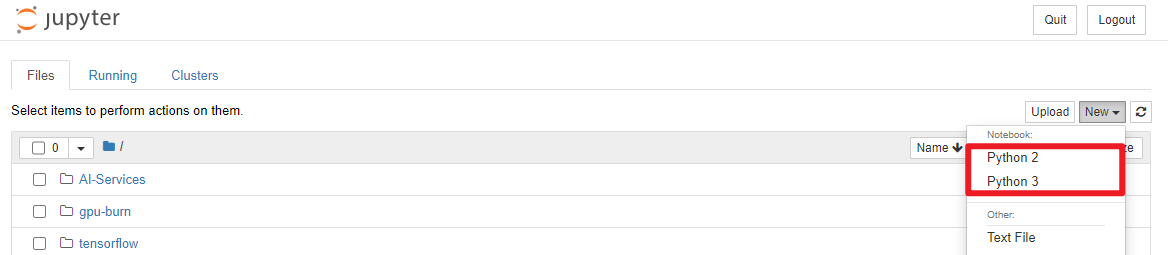
Refresh the Jupyter Notebook page, click New in the upper right corner to make sure that Python 2 and Python 3 are available. We're done!