HowTo: Resize a VCS instance with images
This tutorial will show you how to resize your VCS instance using the Image function to quickly transfer instance data and configuration to a new instance with different size.
The following example resizes a Linux instance created from instance type v.8xsuper to v.super.
info
The comparison of all instance types, configurations and prices, please refer to Pricing for more information.
Step 1. Create a VCS instance image
Save the instance data by creating an image for the VCS instance.
tip
- How long does it take to create the image?
Please refer to TWSC FAQ VCS > Instance Image File > Q1. - How to reduce the time for image creation?
Please refer to TWSC FAQ VCS > Instance Image File > Q2.
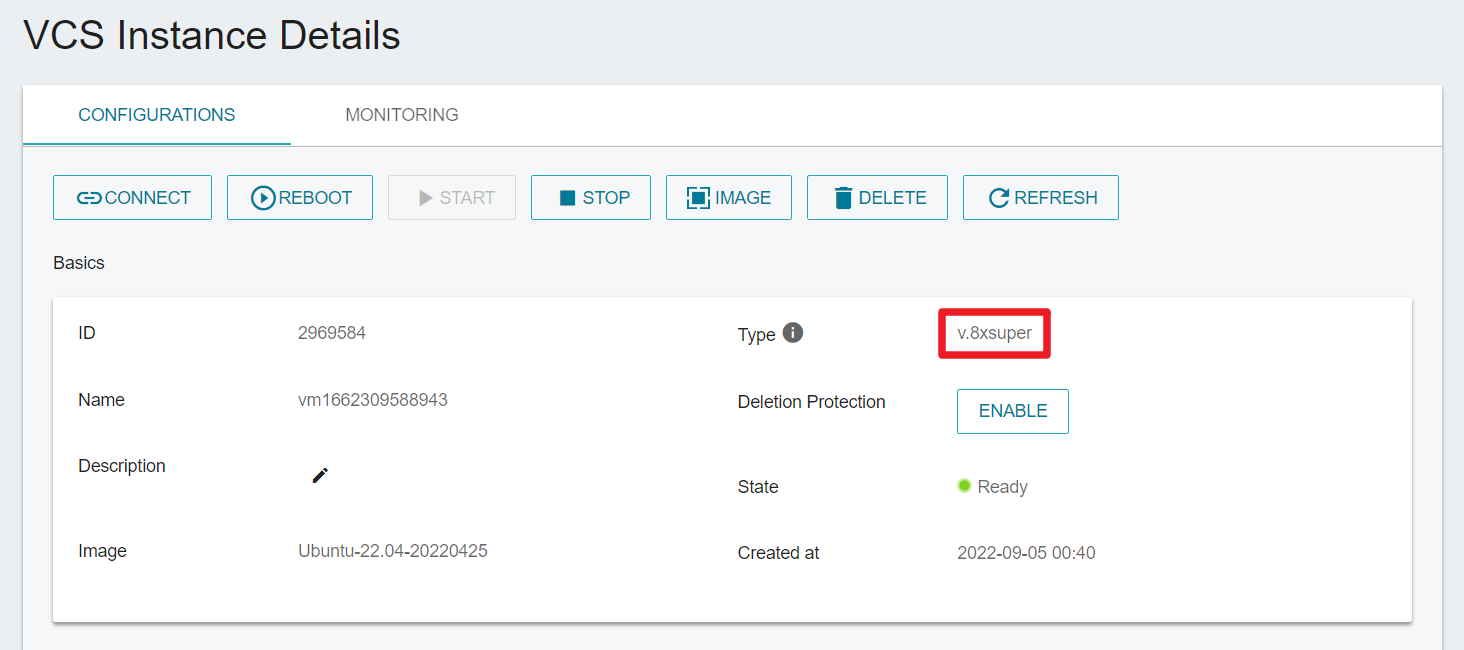
- Go to the VCS Instance Details page to check the instance specification to be resized (type: v.8xsuper, configurations:
v.8xsuper)
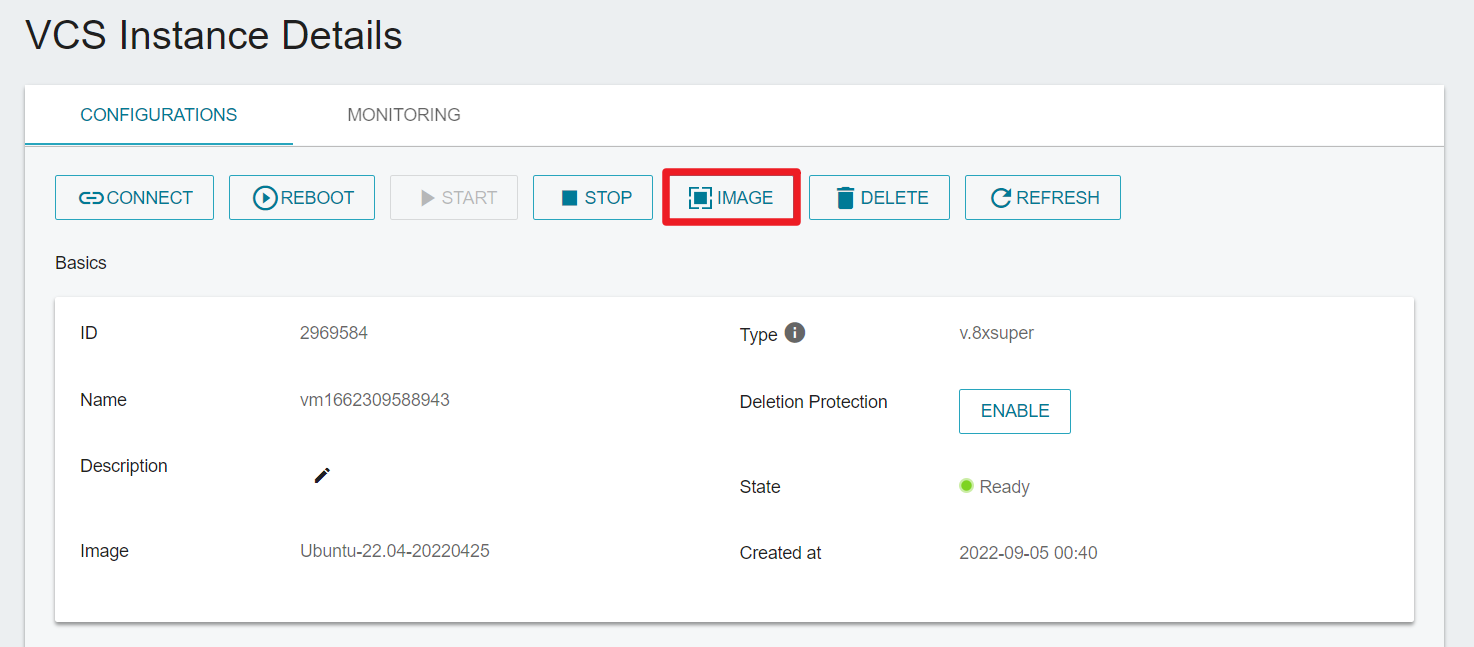
- Click Image.
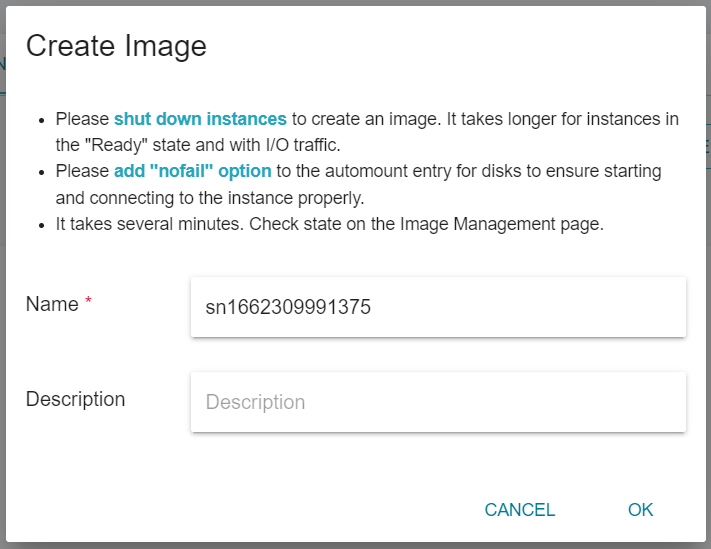
- Enter Image File Name and click OK.
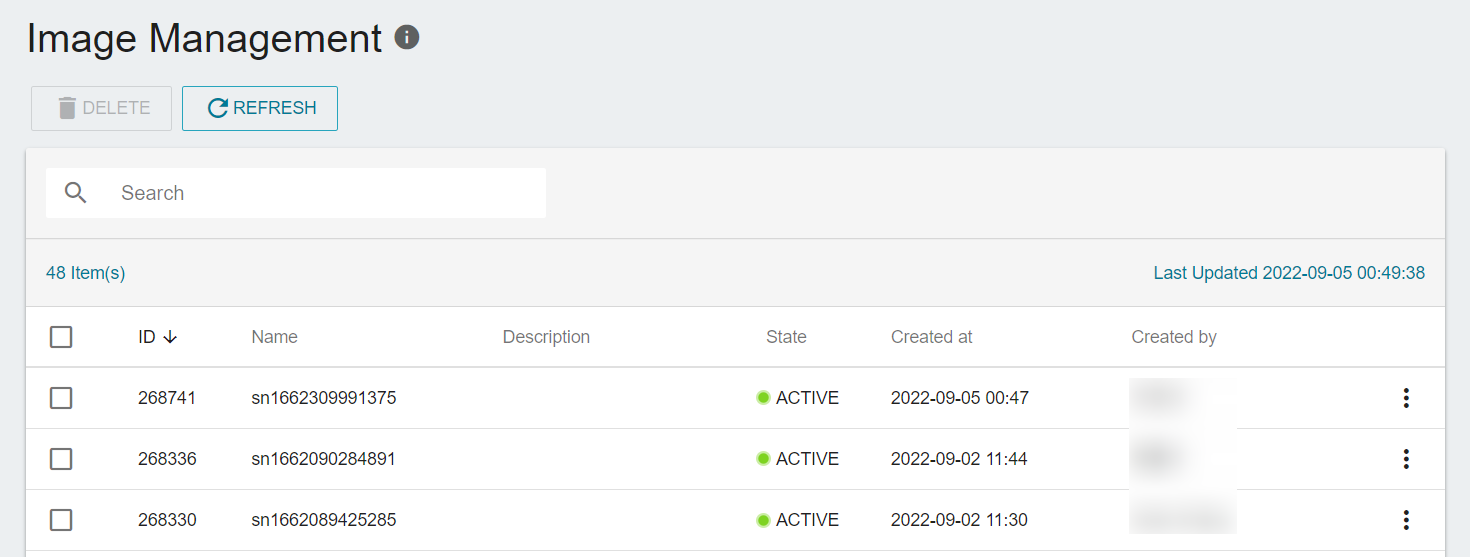
- Complete the creation of a VCS instance image.
Step 2. Create an instance with a new type from the image
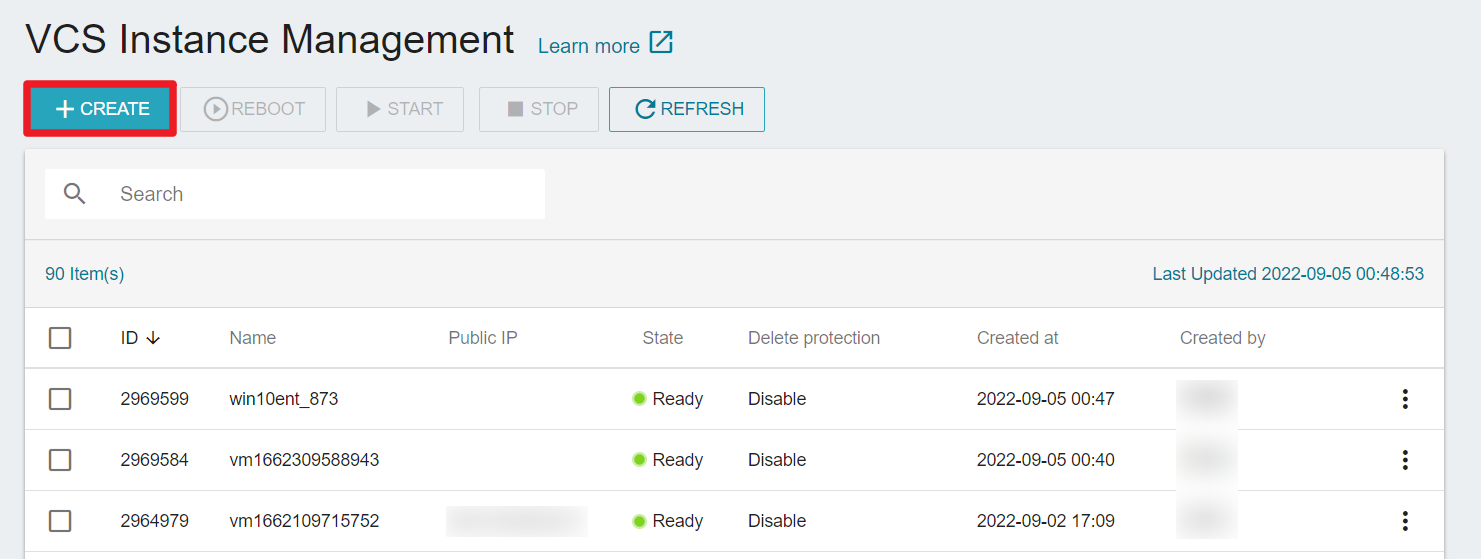
- Select Virtual Compute Service (VCS). On the VCS Instance Management page, click +CREATE.
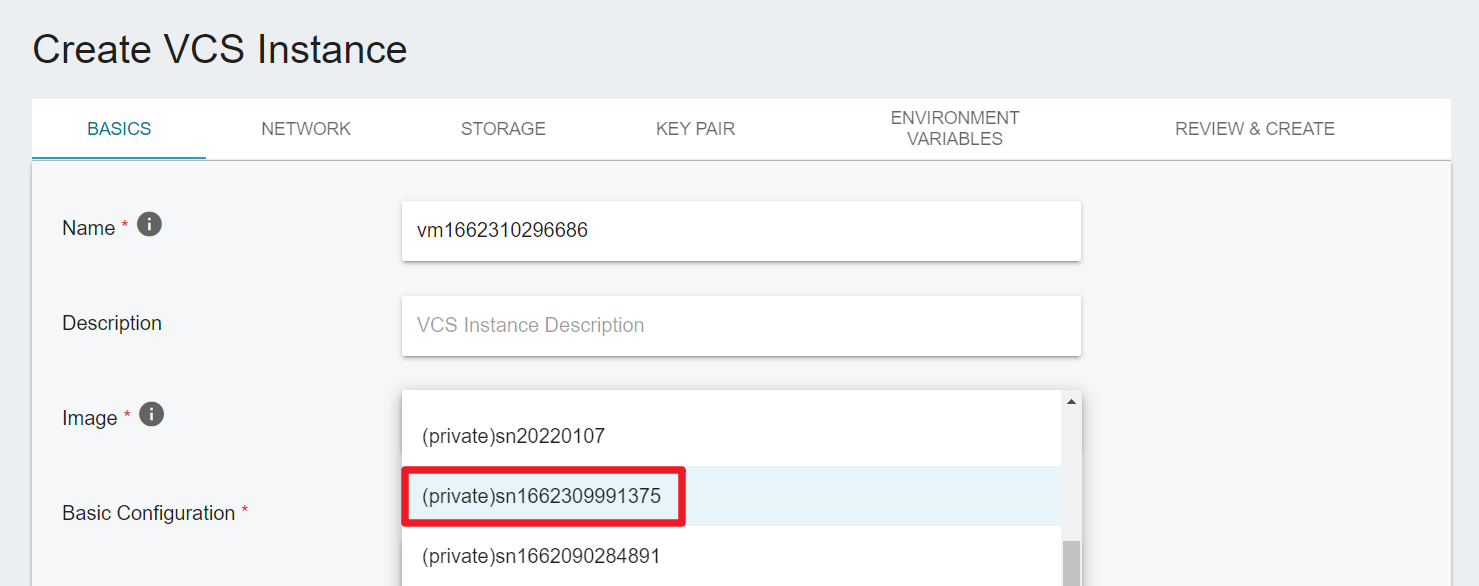
- Enter VCS Instance Name, and select the created image.
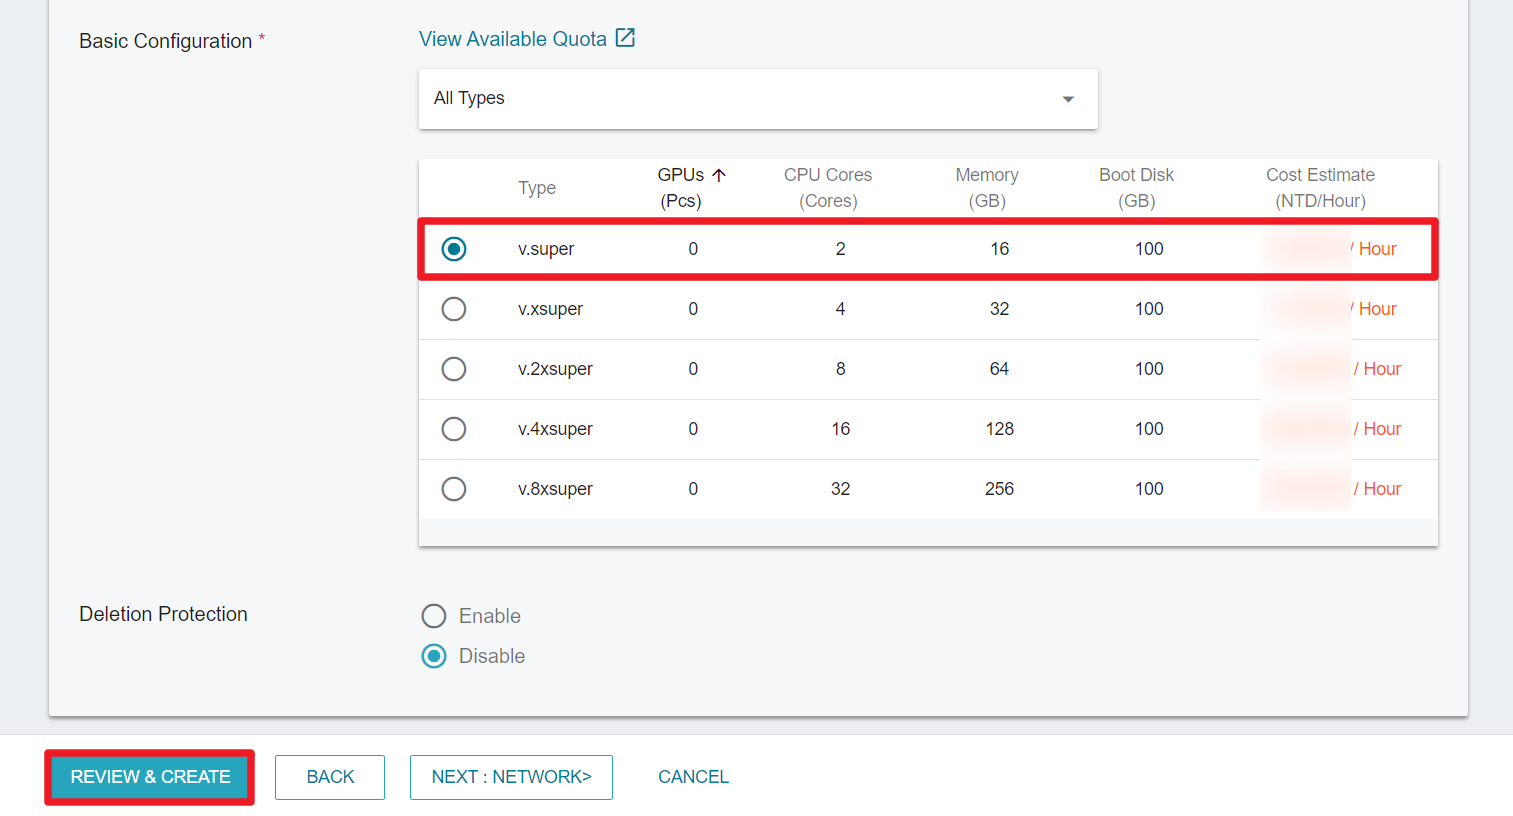
- Select v.super for the instance type in the Basic Configuration, and click REVIEW & CREATE.
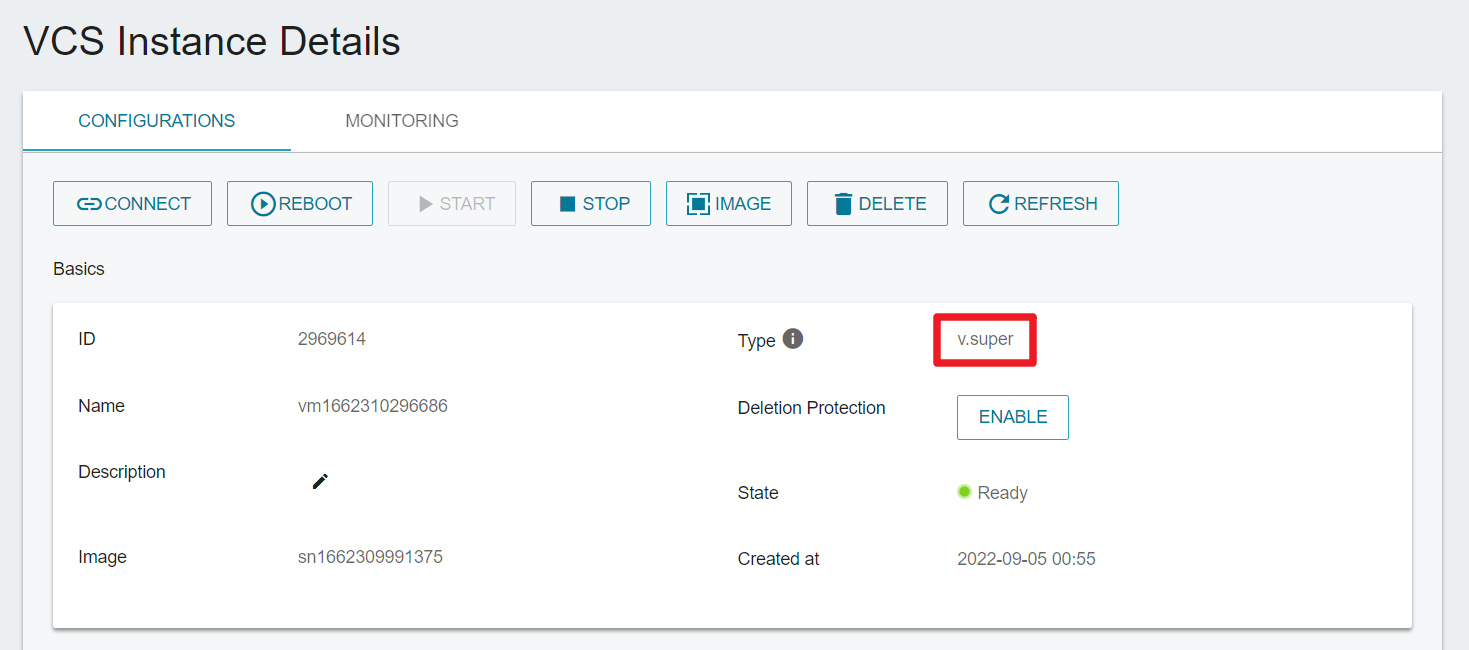
- The instance resize is complete! Successfully create a VCS instance (type: v.super) from the image, and transfer the original instance data to the new instance.
info
- If your original VCS instance has been mounted with data disks, please unmount the data disks first, and then attach them to the new instance.
- If the original VCS instance is no longer in use, it is recommended to delete the instance and release computing resources.