HowTo: Replace a data disk
If you need to change the type of data disk (e.g., replace SSD with HDD), or change the capacity of data disks (e.g., replace small capacity with larger capacity), please refer to this document to synchronize the data from the original disk to the new data disk, and then delete the original one.
This article will take the conversion of the data disk type (SSD to HDD) as an example to demonstrate the operation steps.
Linux instances
Step 1. Confirm the disk type of the instance
- Confirm the type of data disk attached to the instance is SSD.
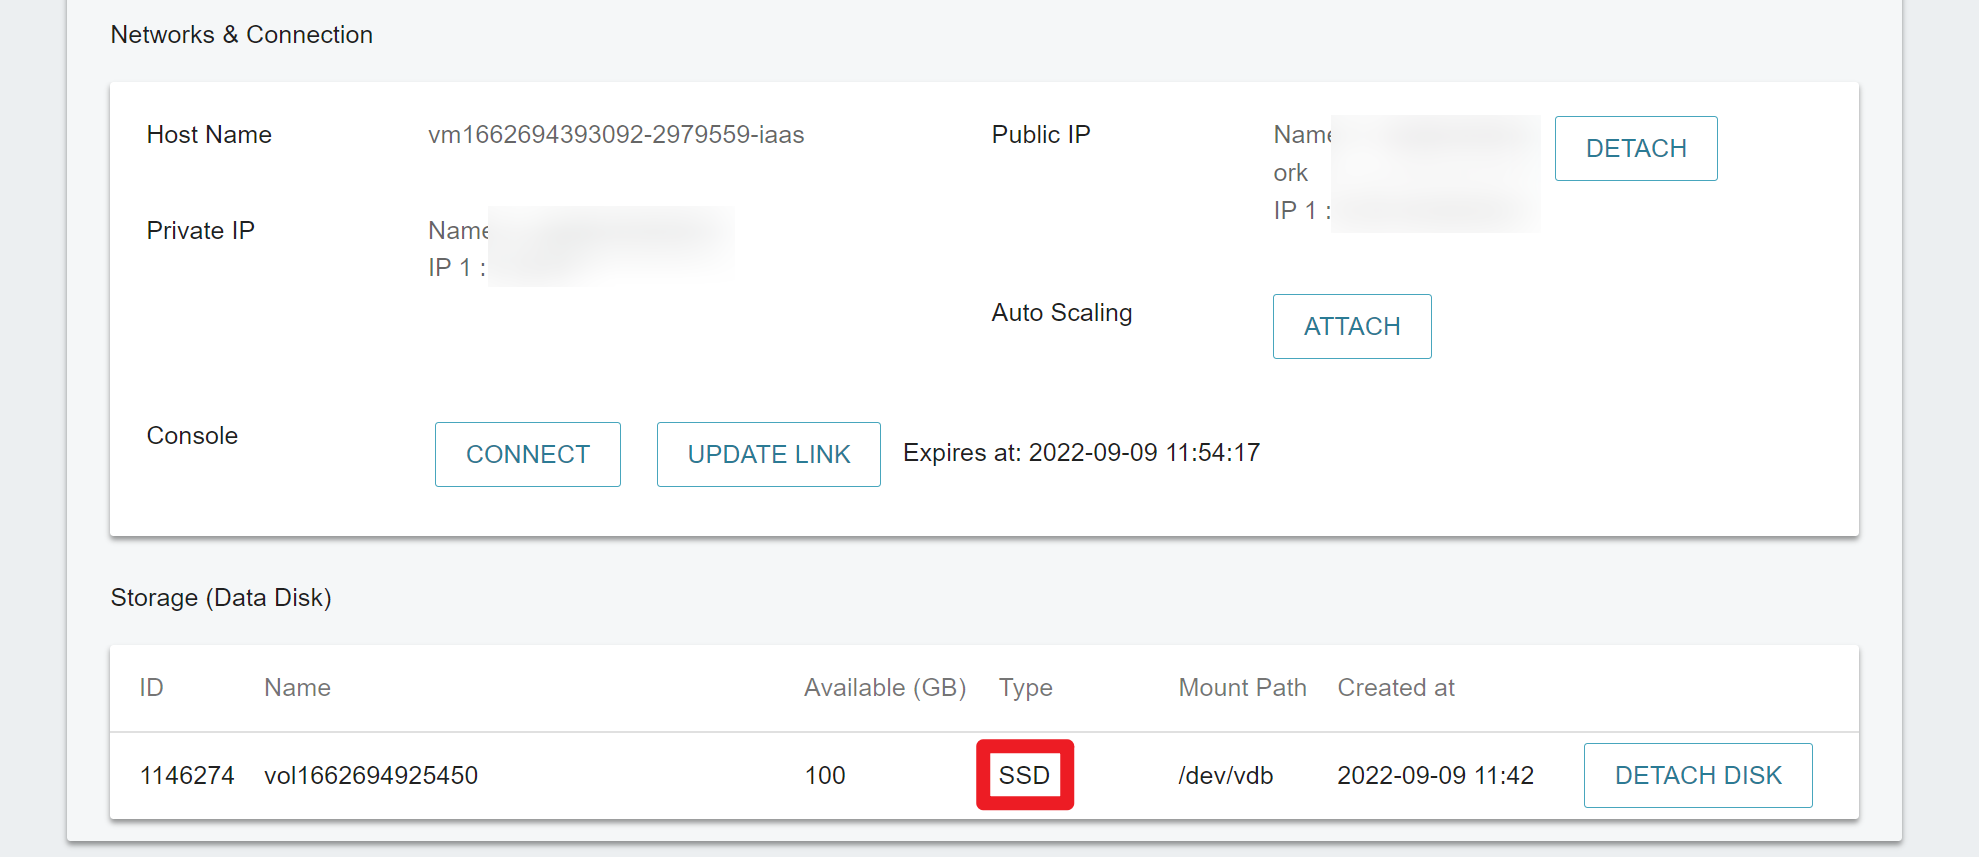
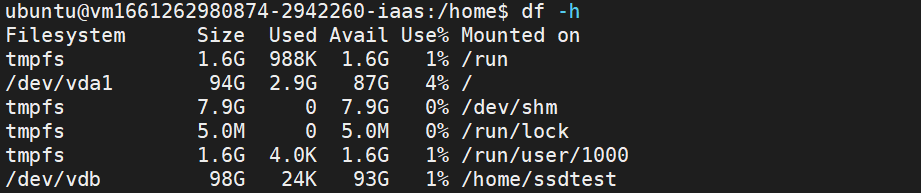
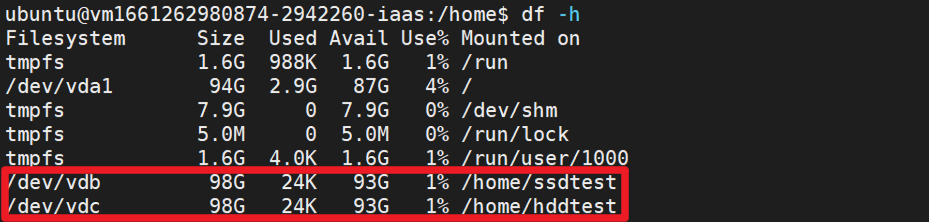
- Enter command
df -hin the VCS instance to view the information of the data disk (file system (Filesystem), capacity (Size), mount path (Mounted on))
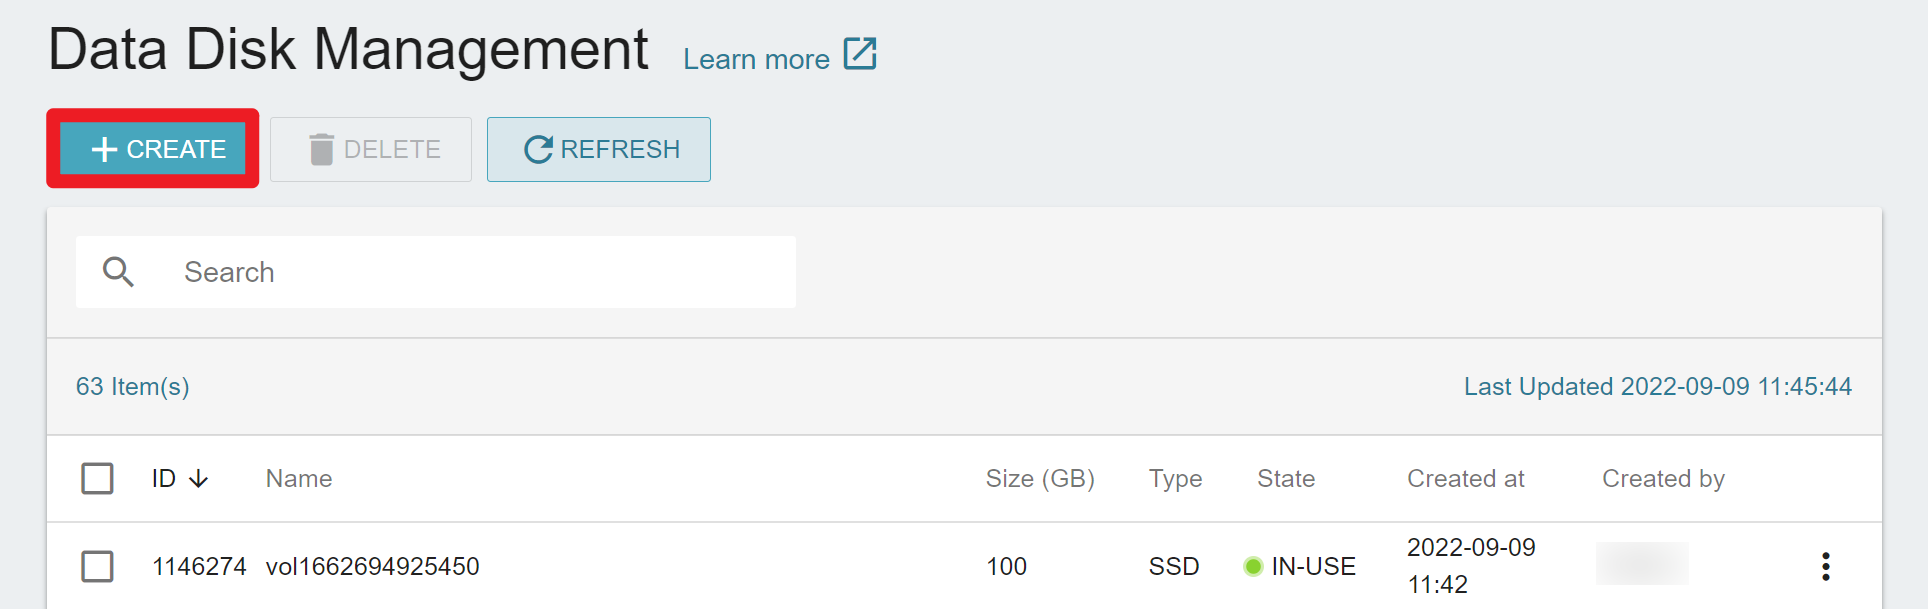
Step 2. Create a new HDD data disk with the same capacity
- Create an HDD data disk on the portal, with the same capacity as the SSD data disk in
Step 1.
- Attach the HDD data disk to the VCS instance in
Step 1.
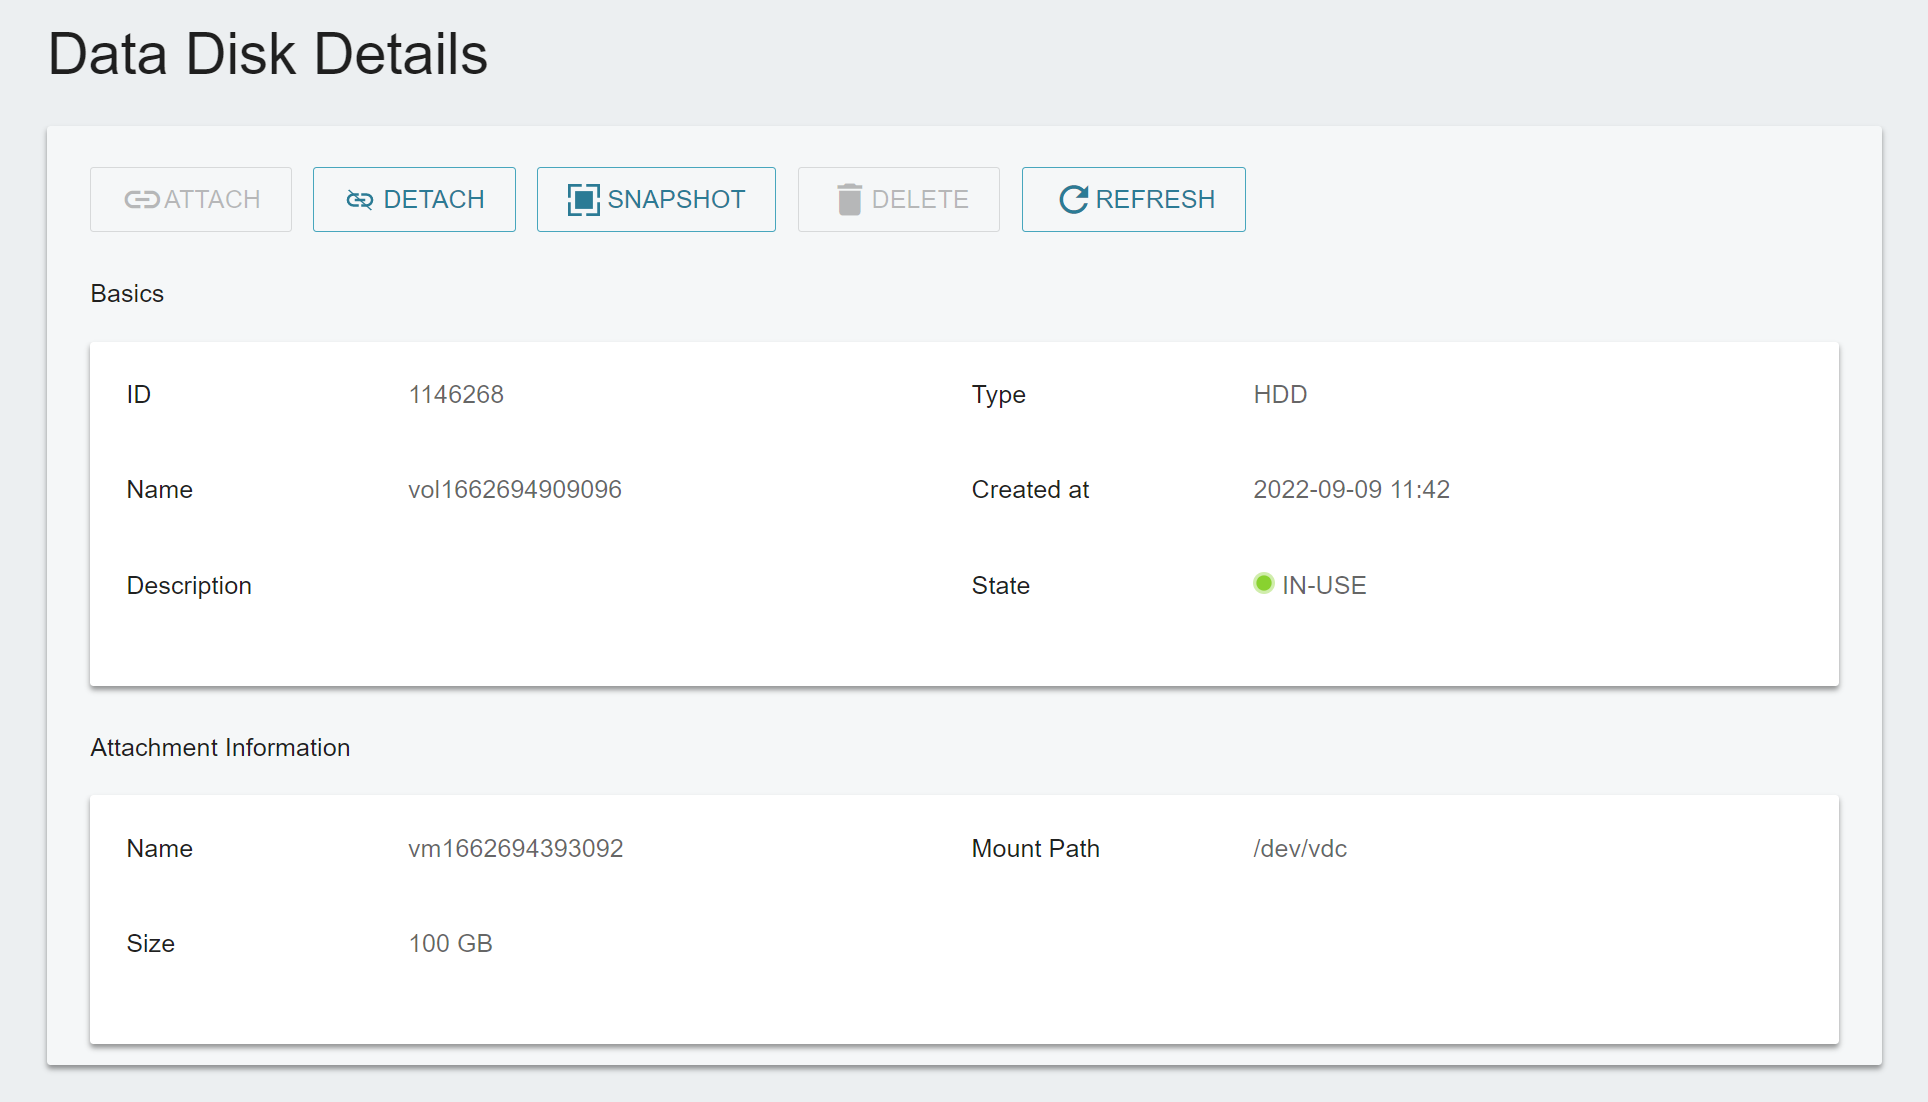
- Confirm that the instance has successfully attached with two types of data disks.

- Connect to the VCS instance, mount the HDD data disk to the instance, and initialize it. Please refer to the steps in Initialize Linux Disks.
Step 3. Sync data from SSD data disk to HDD data disk
- Enter command
df -hto confirm the information of the two types of data disks (file system (Filesystem), capacity (Size), mount path (Mounted on))
- Switch to the root user.
sudo -i
- Enter command
rsyncto synchronize the data of the two data disks.
rsync -avh <Disk_A> <Disk_B>
info
<Disk_A>: Enter the mounted path of the SSD data disk.<Disk_B>: Enter the mounted path of the HDD data disk.
Step 4. Detach and delete the SSD data disk
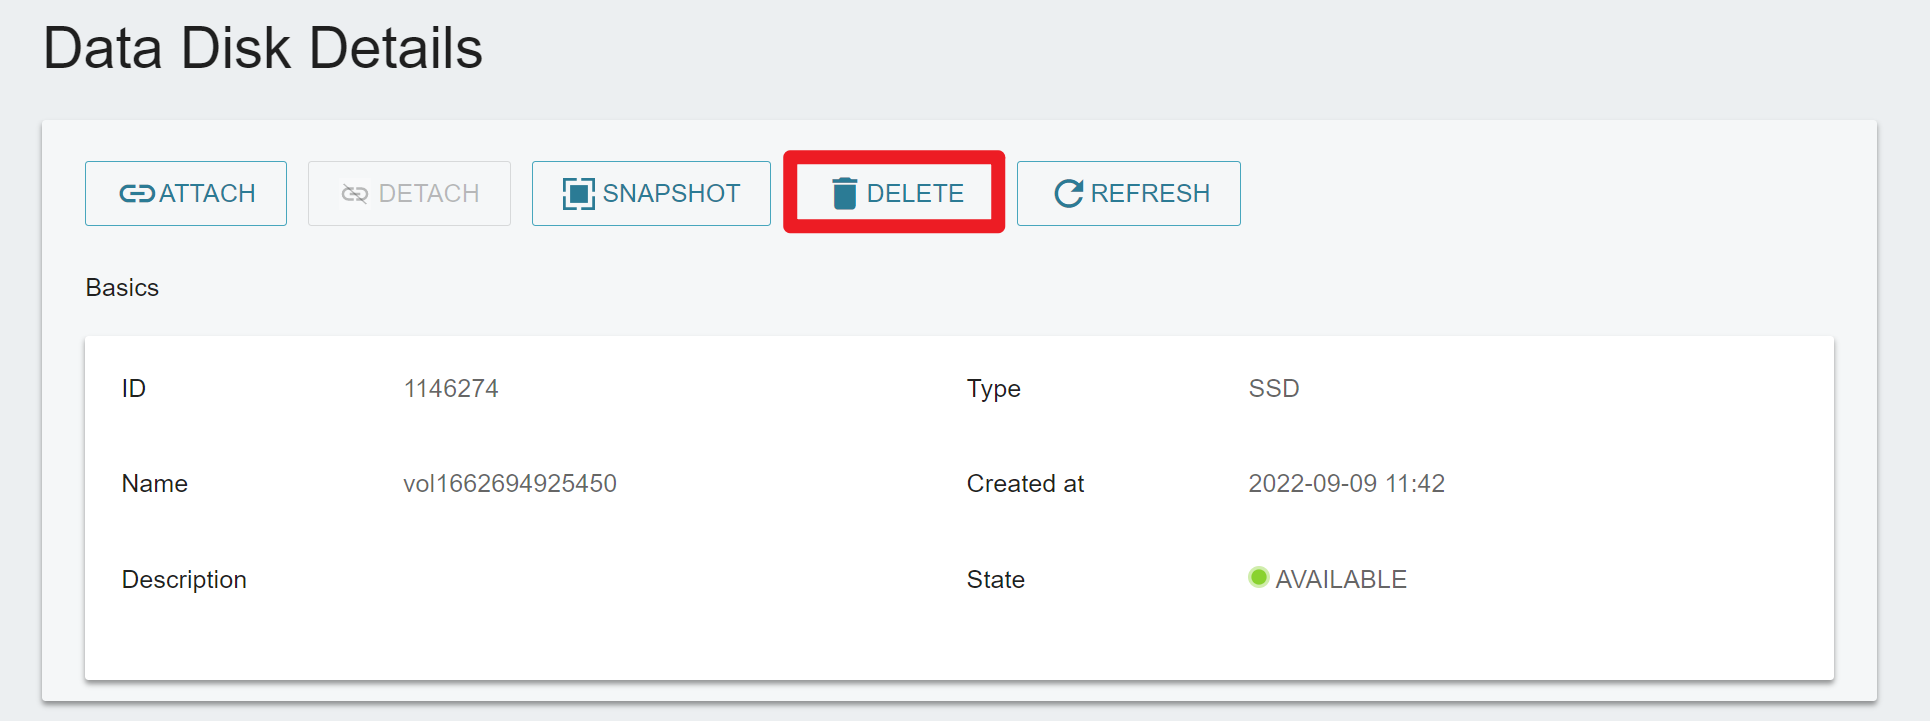
- Detach the SSD data disk from the VCS instance.

- Delete the SSD data disk to release storage resources.
Windows instances
The disk replacing method of Windows instances is the same as Linux instances in Step 1., but the method of initializing data disk in Step 2. and synchronizing data in Step 3. are slightly different:
Step 2. Create a new HDD data disk with the same capacity
After creating a new HDD data disk and attached to the VCS instance, please follow Initialize Windows Disks to initialize the disk.
Step 3. Sync data from SSD data disk to HDD data disk
- Once the disk has been initialized, confirm that both types of data disks have been mounted successfully.
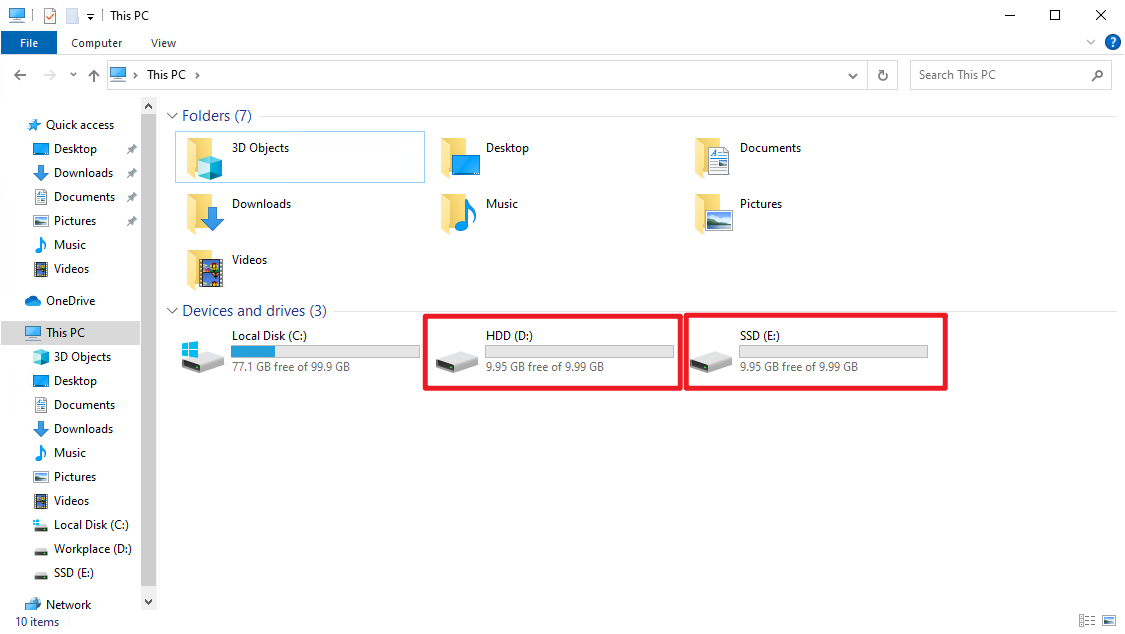
- Copy the data of the SSD data disk and paste it to the HDD data disk to complete data synchronization.