HowTo: Initialize a Linux data disk
To increase the storage space for the existing VCS instances, create and attach data disks of Virtual Disk Service to the target VCS instance. Then, for both Windows and Linux operating systems, the initialization of the disk is required so that the VCS instance can detect your mounted storage space and store the data.
In the following tutorial, we will show you how to initialize your new data disks.
Step 1. Check if the disk is attached to the instance
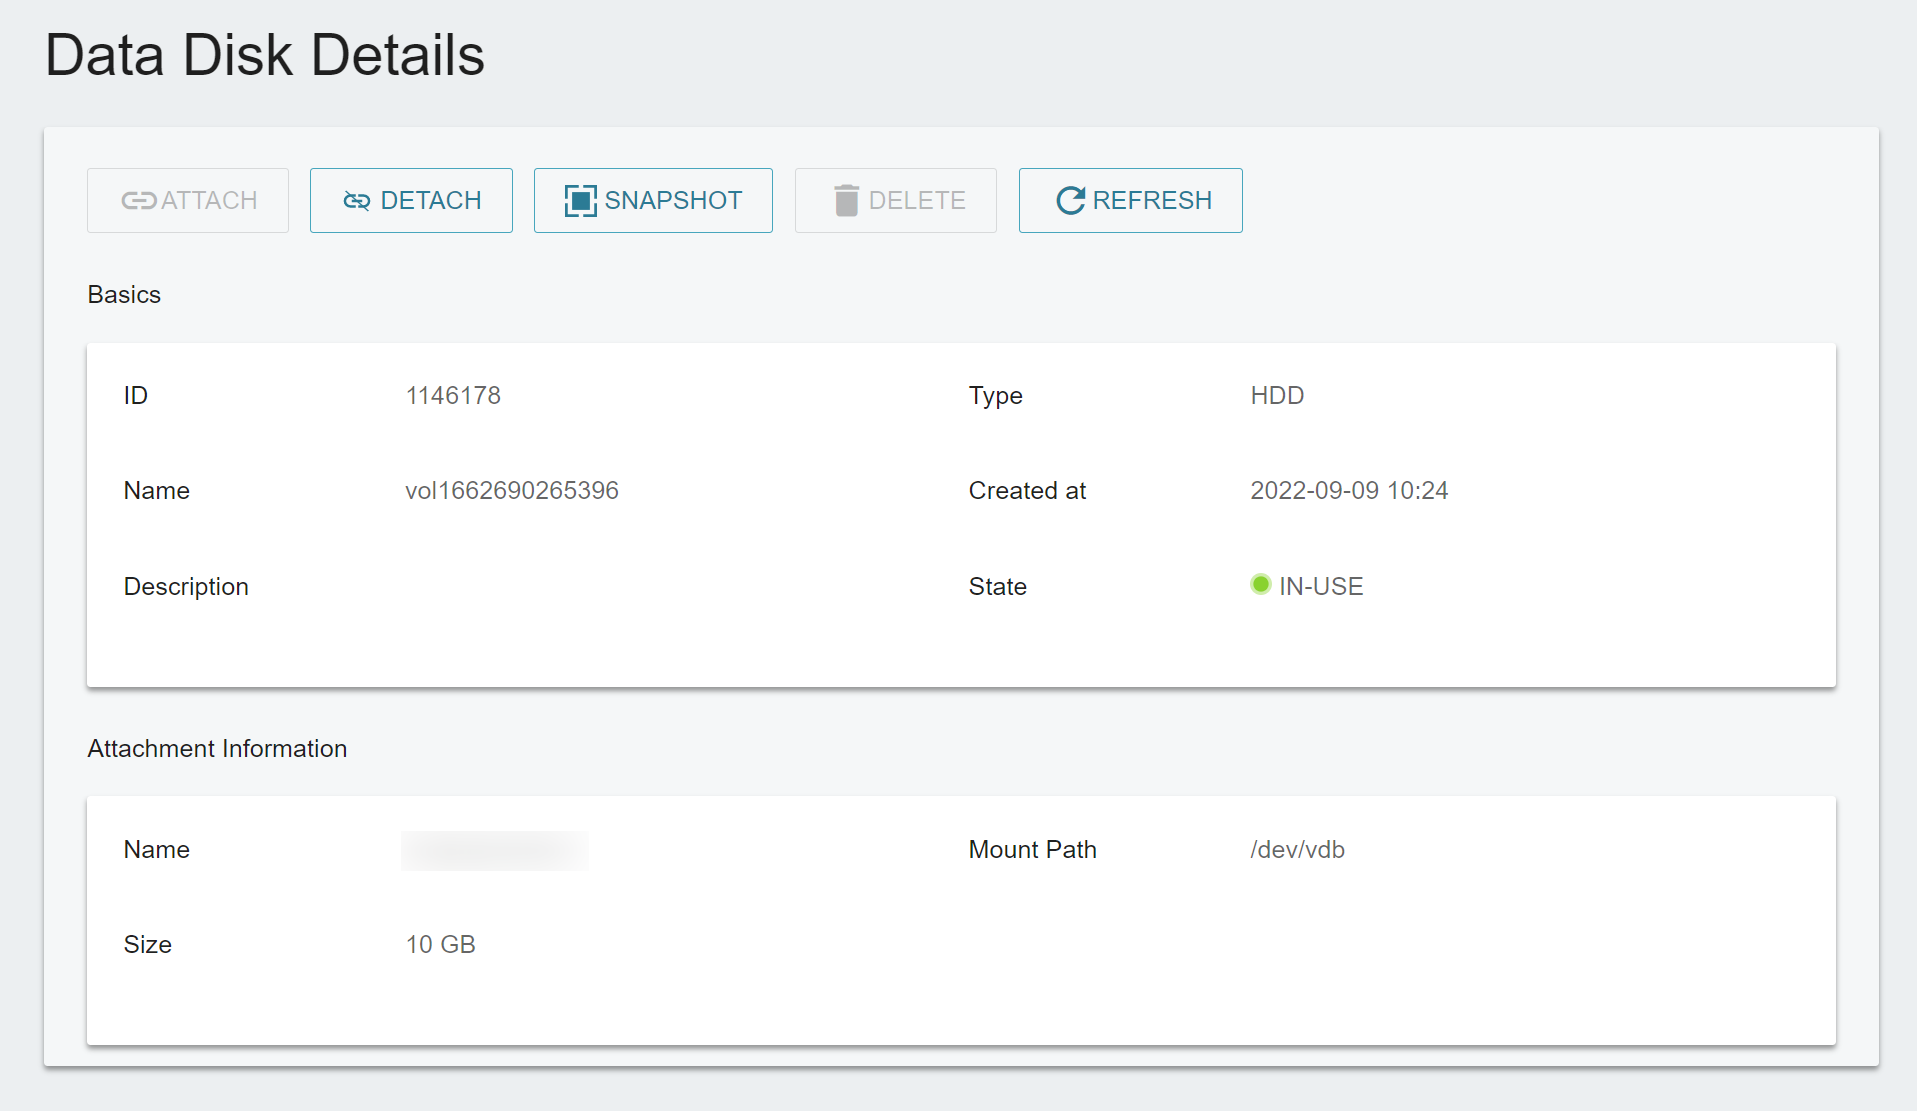
After attaching the data disk to your VCS instance, make sure that it is correctly attached and assigned a mount path (for example: /dev/vdb) on TWCC Portal.
Connect to a VCS instance, enter the following command to make sure that the disk is attached to the instance, and check the disk details to make sure that the path and size are correct.
sudo fdisk -l

After you attach a disk to your instance, the mount path of the disk will show on the Data Disk Details page, and the path can be different from the path you see in your VCS instance. Please contact Technical Support when you find inconsistent paths of a disk.
Step 2. Format the disk
Enter the following formatting commands to create a file system that can be used by the VCS instance.
sudo mkfs -t ext4 <DISK_DEVICE>
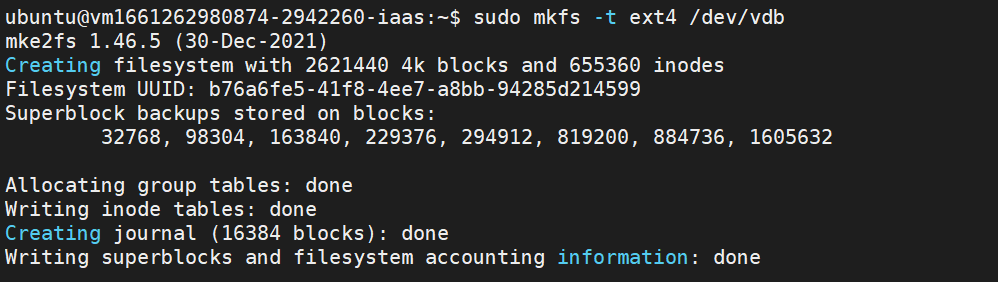
<DISK_DEVICE>: Disk device such as/dev/vdb
Step 3. Mount the disk
Create a directory to which the disk is to be mounted.
sudo mkdir <DIRECTORY>
<DIRECTORY>: Directory path such as/home/test
Mount the disk to the directory.
sudo mount <DISK_DEVICE> <DIRECTORY>
Step 4. Check if the disk is mounted successfully
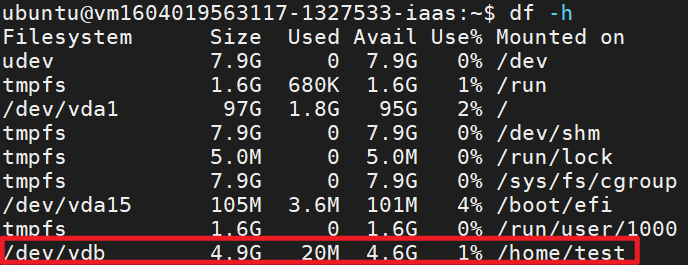
Use the following command to check whether the disk has been successfully mounted to the directory. When the mount point directory is displayed, it succeeds and you can store the files on the new disk.
df -h