HowTo: Initialize a Windows data disk
To increase the storage space for the existing VCS instances, create and attach data disks of Virtual Disk Service to the target VCS instance. Then, for both Windows and Linux operating systems, the initialization of the disk is required so that the VCS instance can detect your mounted storage space and store the data.
In the following tutorial, we will show you how to initialize your new data disks.
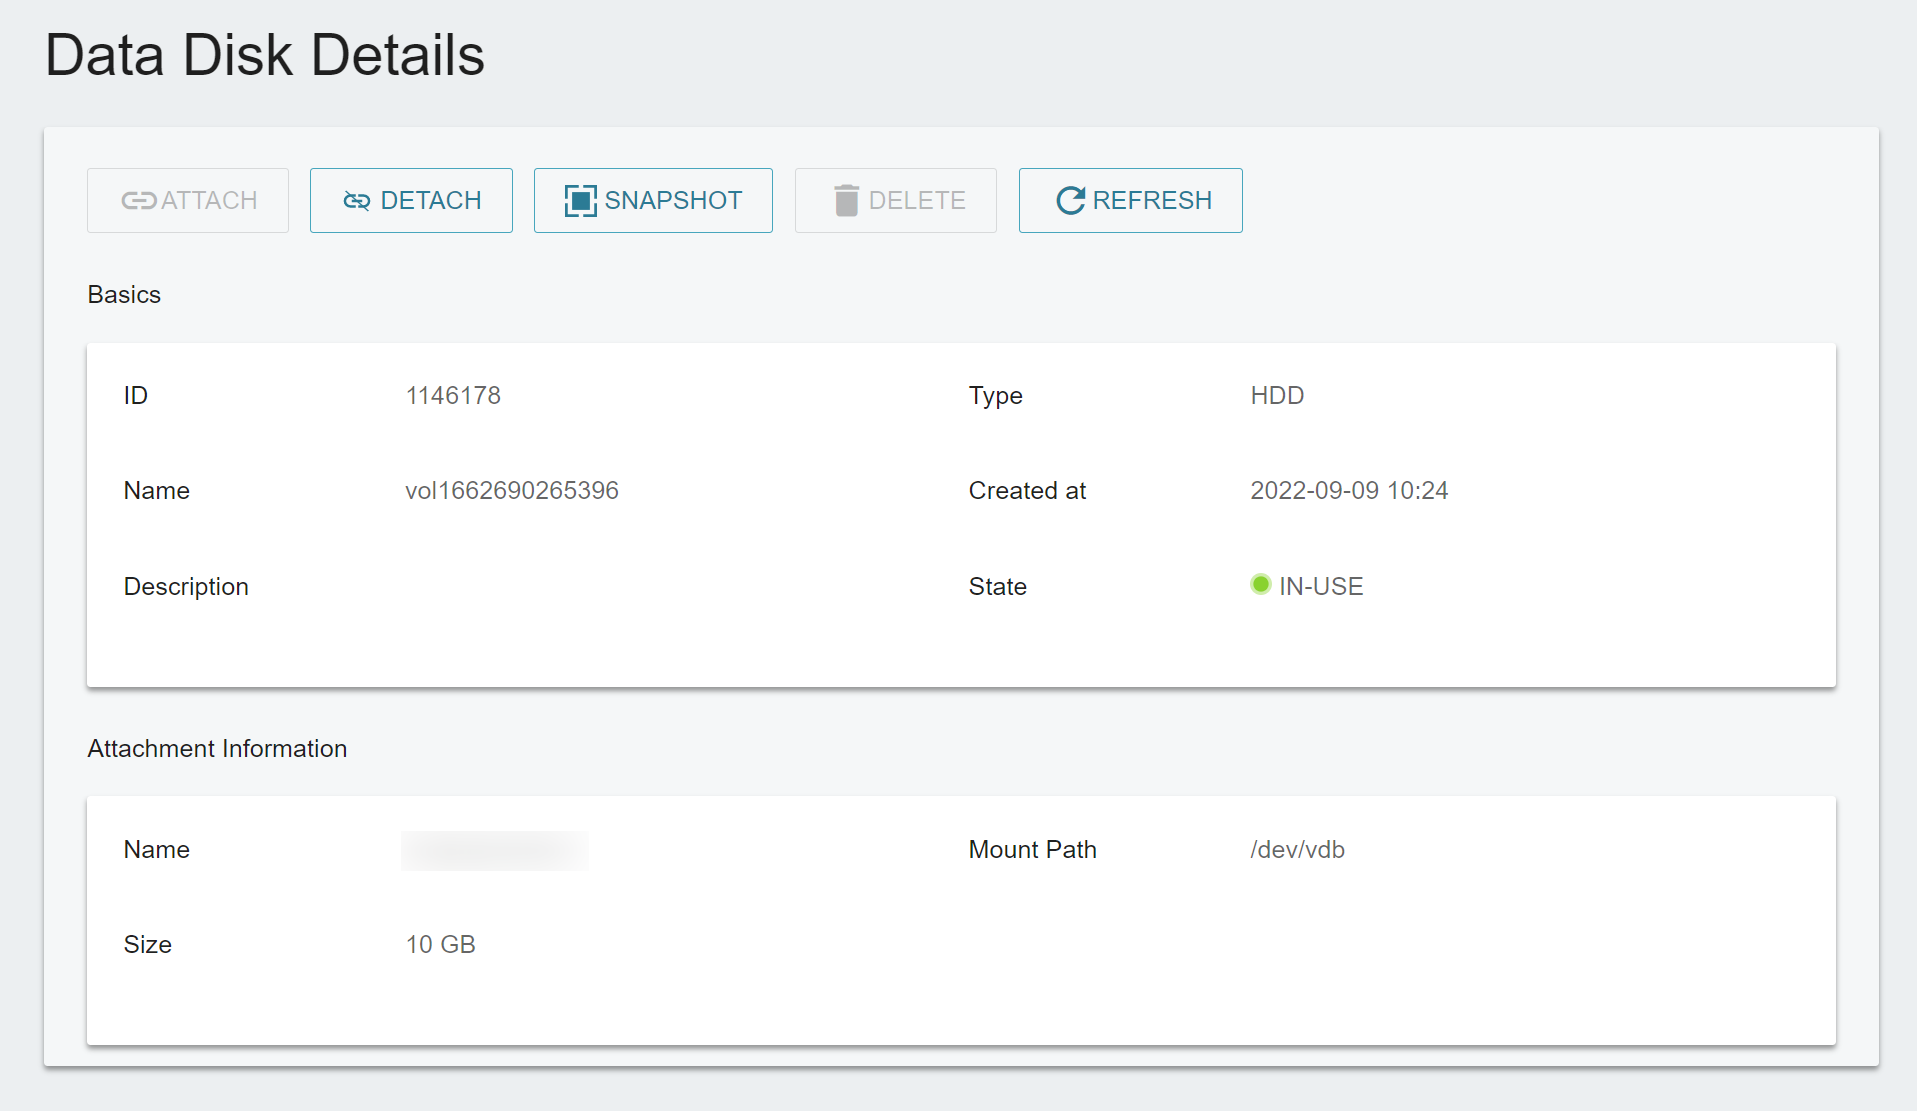
Step 1. Check if the disk is attached to the instance
After attaching the data disk to your VCS instance, please make sure it is correctly attached on TWSC Portal.
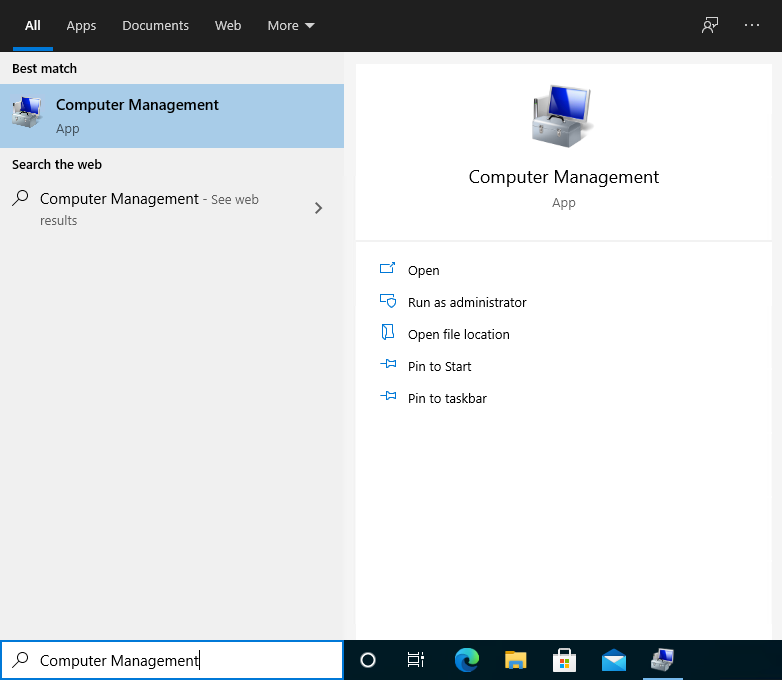
Step 2. Open Computer Management
Please connect to your VCS instance, search Computer Management in and open the application.
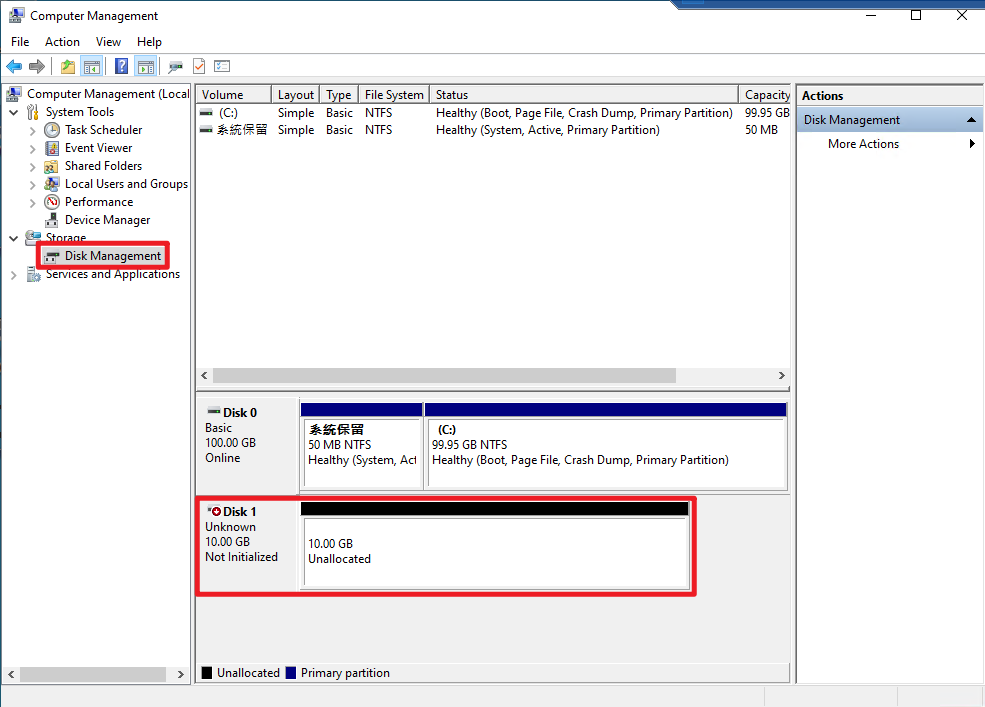
Step 3. View the disk
Click Disk Management on the left menu, you can find the data disk that you have attached to the instance which is in the Not Initialized and the Unallocated status.
Step 4. Initialize the disk
- Windows will automatically open the initialization window. Select the data disk to be initialized > Select partition style (you can directly use the default
MBR (Master Boot Record)) > click OK.
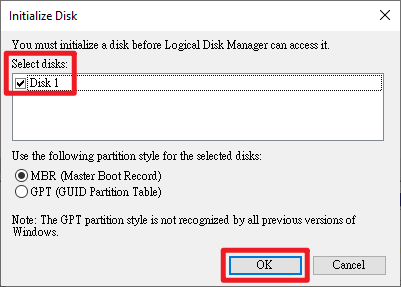
- After initialization, the status of the data disk will change from
Not InitializedtoOnline.

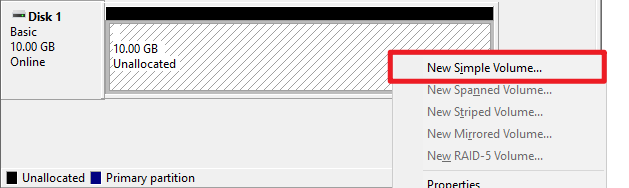
Step 5. New Simple Volume
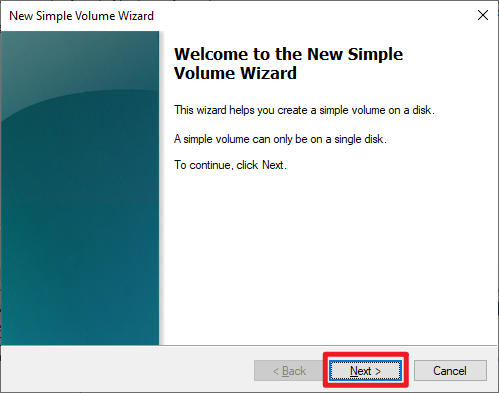
- Right-click on the disk and click New Simple Volume to open the New Simple Volume Wizard.
- Click Next >.
Step 6. Specify volume size
- By default, the space of the entire disk is used. Just click Next > to create the entire disk as 1 partition.
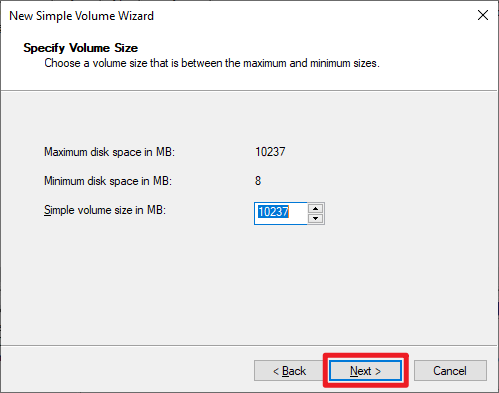
You may divide the disk into multiple partitions according to your needs.
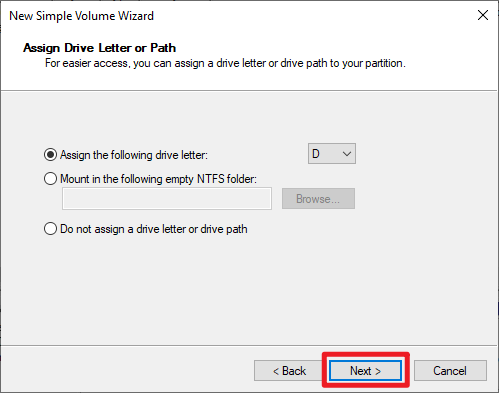
Step 7. Assign drive letter or drive path
- Assign drive letter or drive path, click Next >.
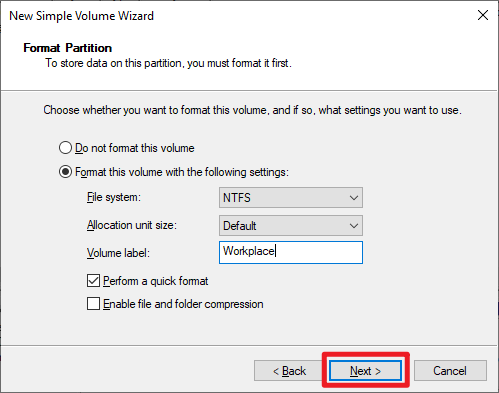
Step 8. Format Partition
- Enter the volume label use the default value for the rest settings. Click Next > to start formatting.
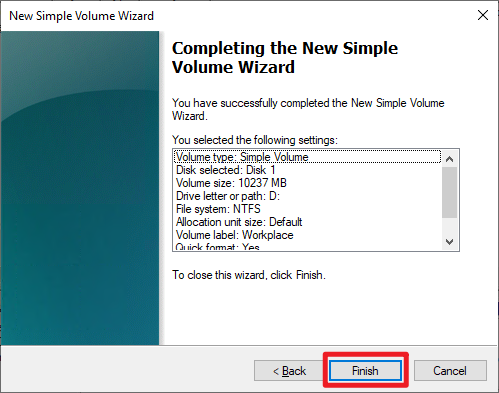
- Finally, click Finish.
- After the formatting is complete, the status of the data disk will change from
UnallocatedtoHealthy (Primary Partition).
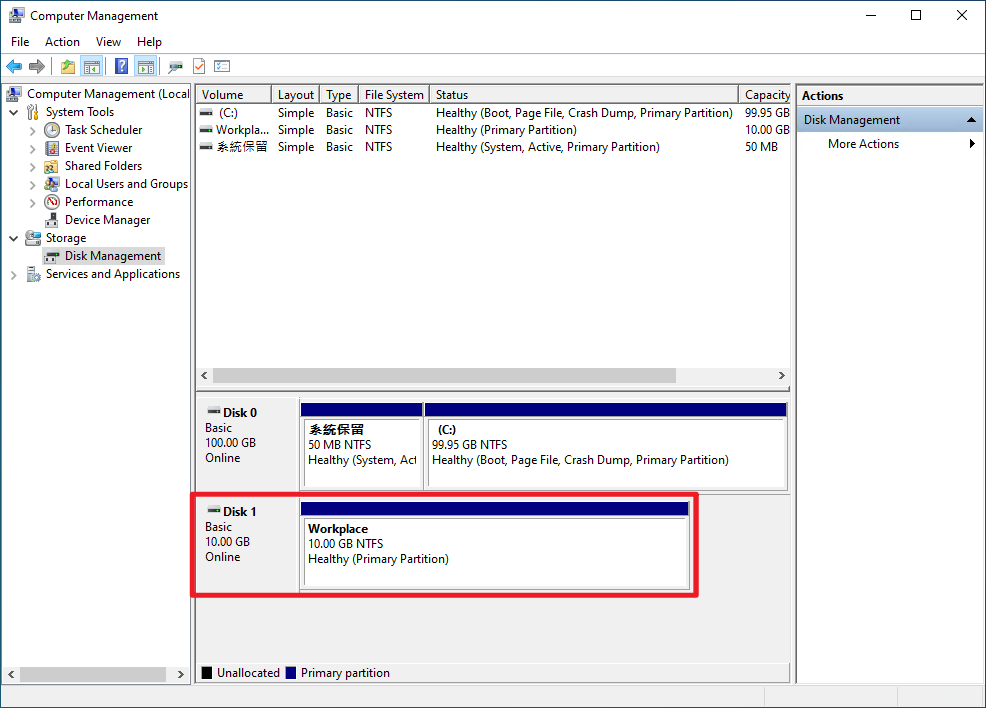
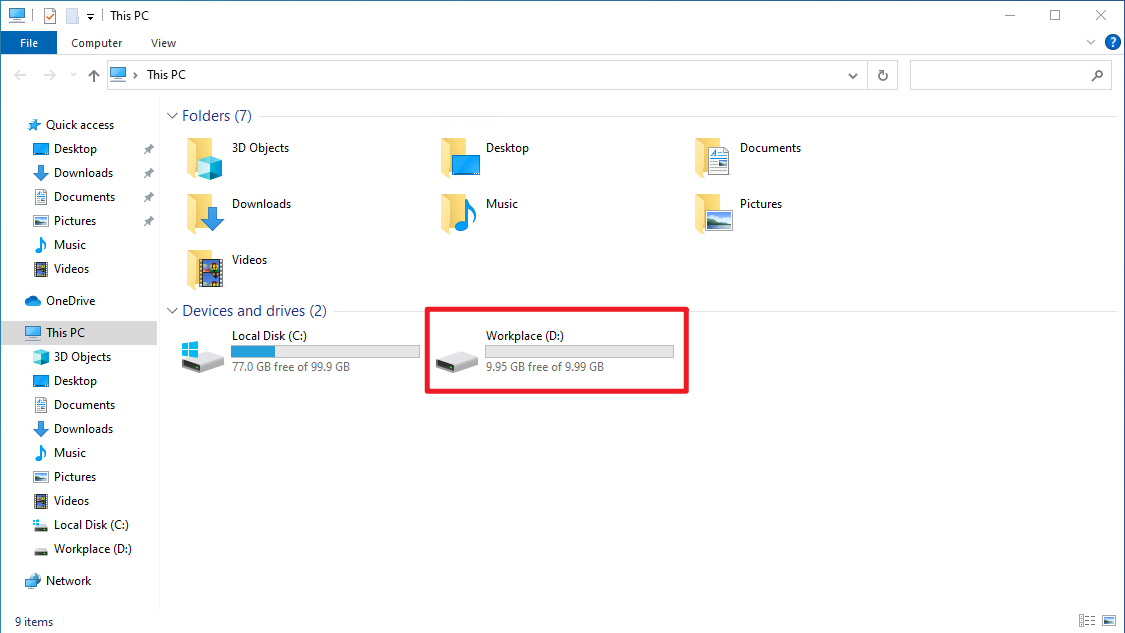
- You may view the new data disk in Devices and drives section, and you can start saving data to the new data disk.