Upload & create a custom image
TWSC provides you with the capability to upload and create custom images. After uploading your custom images to COS, you can then utilize TWSC VCS to establish a personalized computing environment that suits your needs.
Prerequisites
- Please prepare your custom VCS image and upload it to the COS.

info
- Supported Linux image formats (please retain port
22for SSH connection):raw、qcow2 - For Windows images or other formats, such as
vhd,vhdx,vmdk,vdi,iso,ploop,aki,ariandami, please contact technical support: isupport@twcc.ai - For the complete upload process, please refer to the COS documents. It is recommended to use third-party software for uploading image files, as it facilitates the transfer of larger files with faster speeds.
Create a custom image
- Select Virtual Compute Service (VCS) from the service list. Click Image on the left sidebar, and click Create on the Image Management page.

- Enter the Name, OS, OS Version and Disk Format (TWCC supports
raw、vhd、vhdx、vmdk、vdi、iso). Then, click NEXT:IMAGE SOURCE>.
caution
Please make sure that the Disk Format matches the format of the image to ensure that the VCS instance created with this image can be connected and used seamlessly.

- Fill in the Bucket and Subpath where the image is saved, as well as the File Name. Click NEXT:REVIEW & CREATE>.

info
- File information can be viewed on the COS page, example shown as follows:
- Bucket:uploadimagetest
- Subpath:/image
- File Name:CentOS-7-aarch64-GenericCloud-2003.qcow2 (must include file extension)

- Review the image information, and click CREATE.

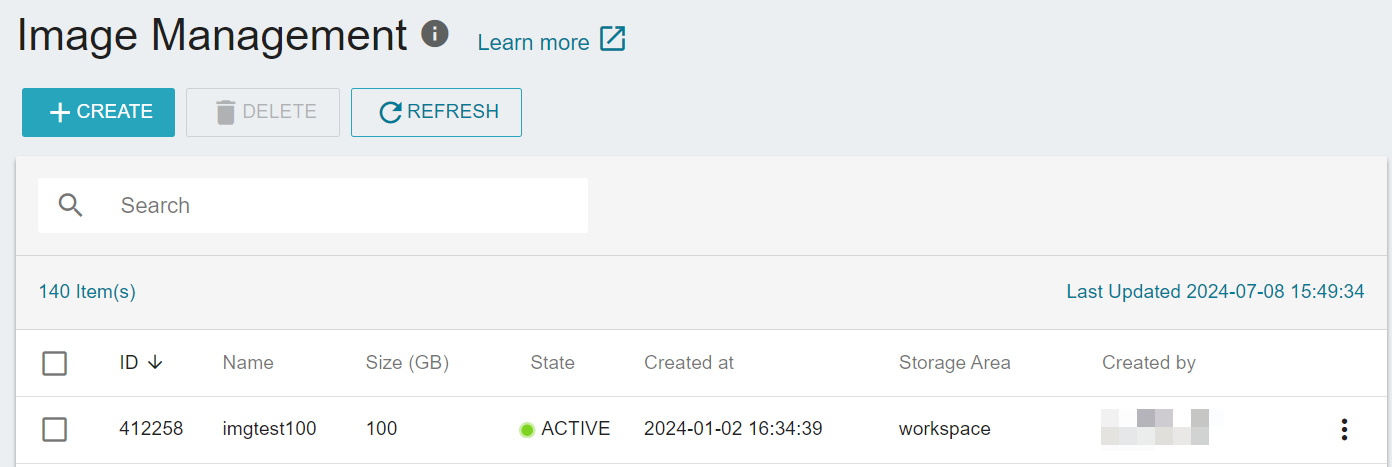
- It takes some time for the system to prepare the image. Once the state becomes
ACTIVE, you can share it with project members and start using it. Please refer to Create a custom instance for creating instances with custom images.