Virtual Network
Virtual Network service is designed to provide custom virtual network function for VCS instances. Full access to this feature is provided to the Tenant Admins and the Tenant Users only have viewing and usage permissions.
For the permission differences between a Tenant Admin and a Tenant User when using VCS instances, please refer to User roles and permissions.
Create a default virtual network
If you are first-time user of TWSC VCS, you must create a a default network in the Virtual Network service before you can get started. Please refer to Create a default network for the creation steps. If you need to use other network segments later, please refer to the following section to create a custom VNW.
Create a custom virtual network
- CIDR cannot overlap with other virtual network segments.
- Please use the private network range defined by RFC1918 for CIDR to avoid connection errors:
- 10.0.0.0/8
- 172.16.0.0/12
- Please do not use the system reserved segment: 192.168.1.0/24.
- TWCC Portal
- TWCC CLI
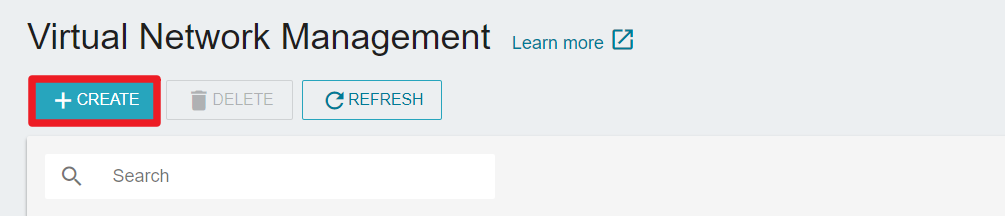
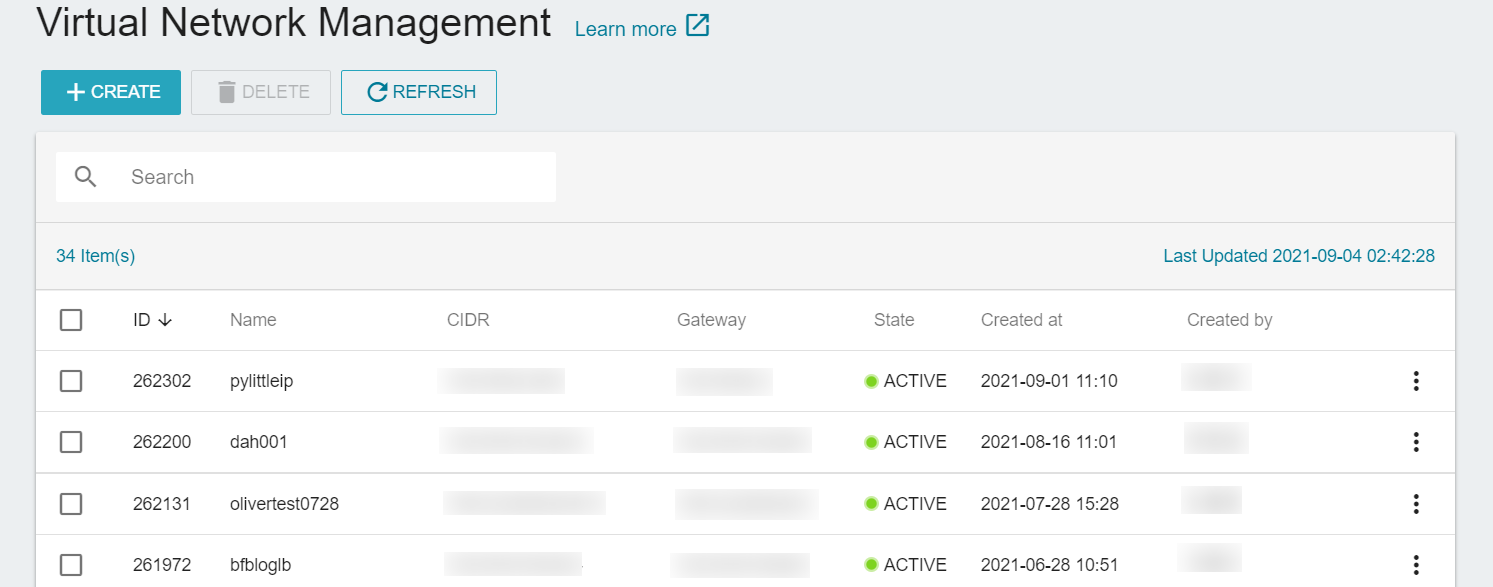
- From the service list, select Virtual Network. On the Virtual Network Management page, click +CREATE.
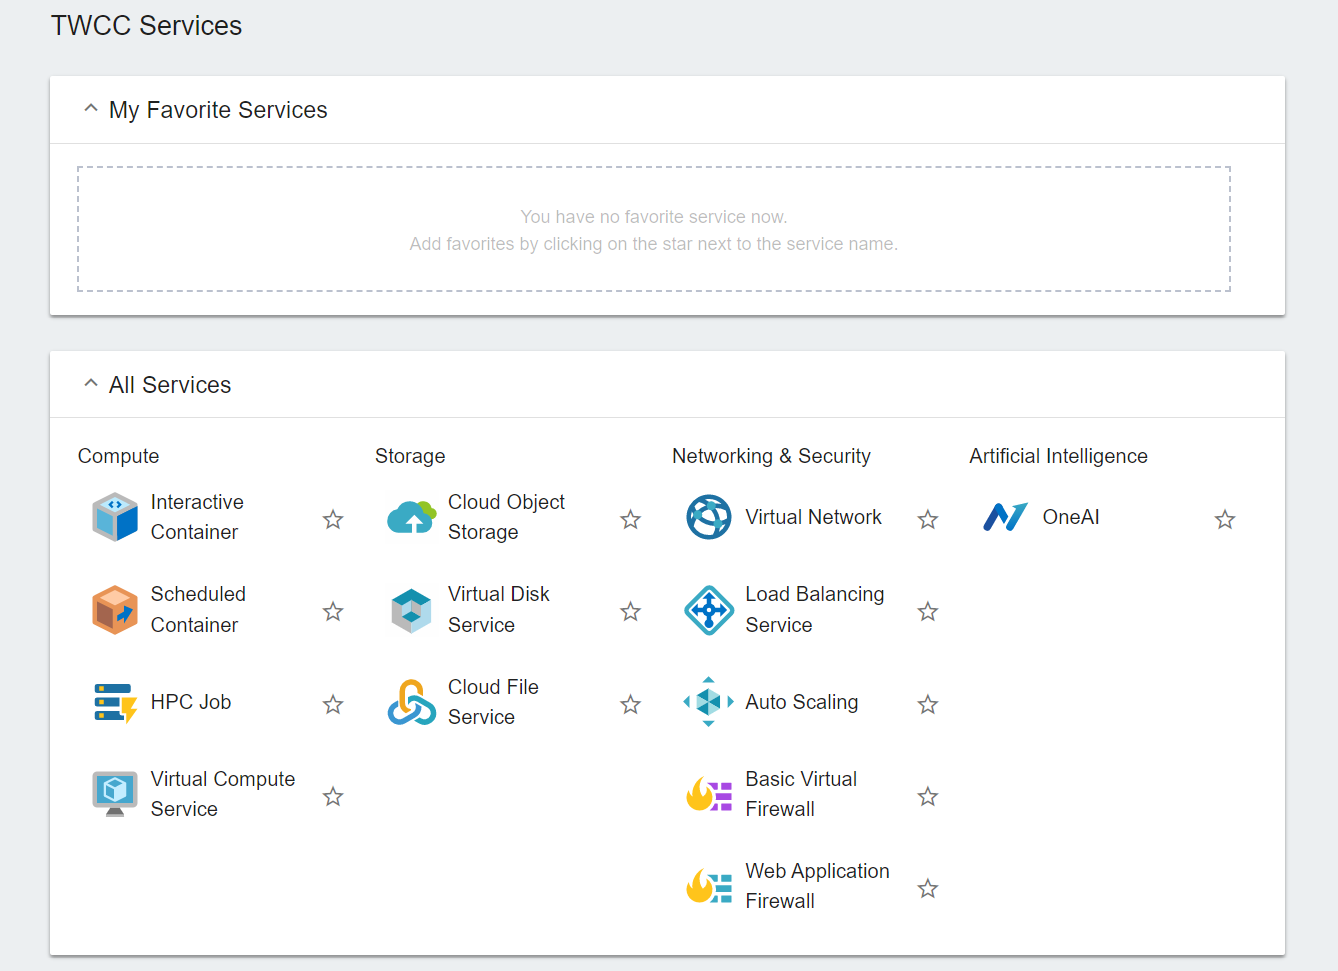
You can click on the asterisk to the left of the service in "All Services" and pin your frequently used services to "My Favorite Services" to speed up the process.
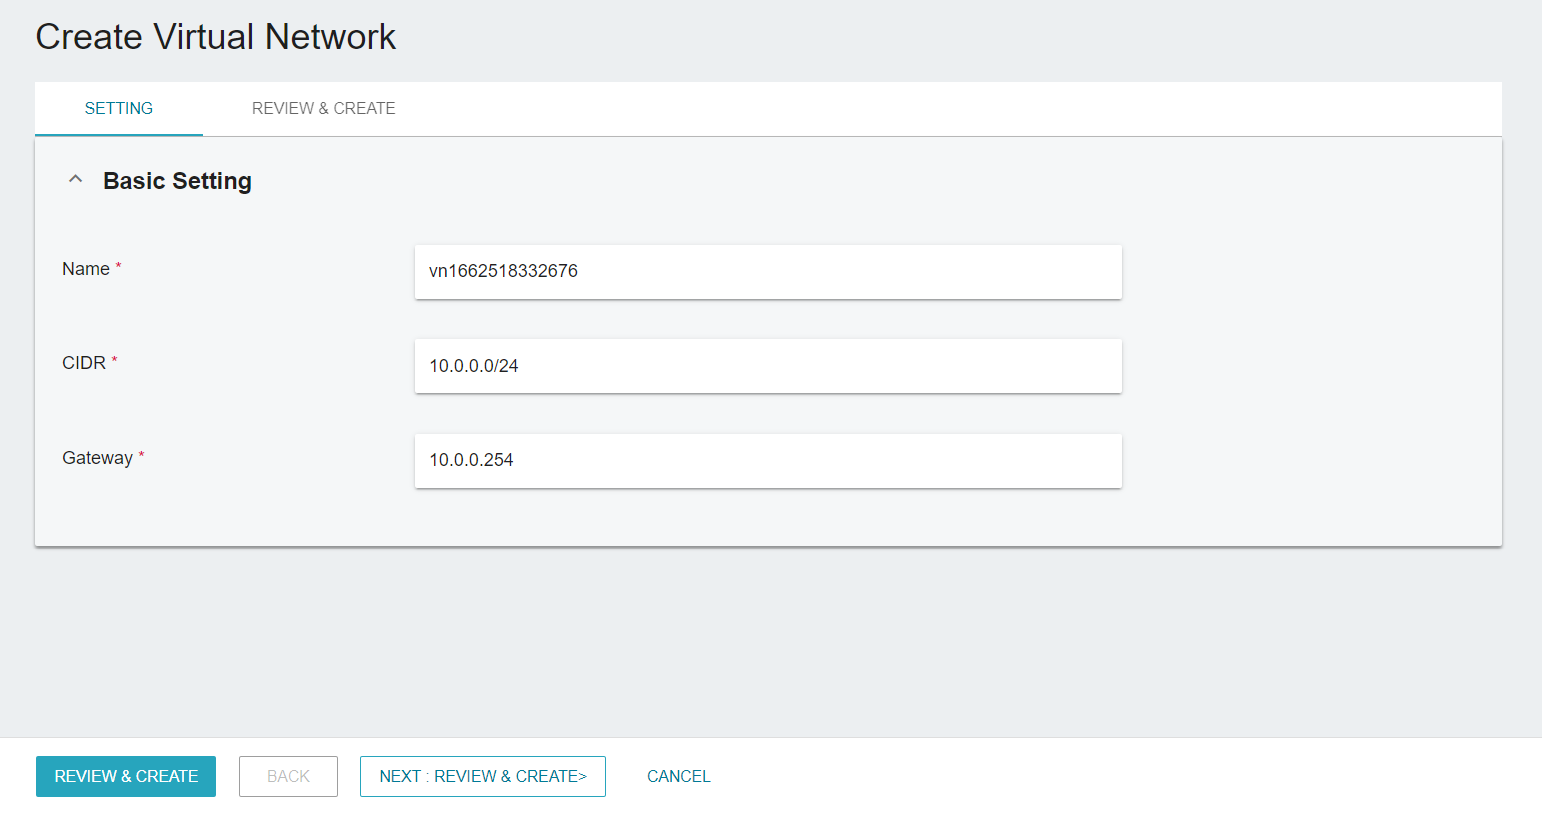
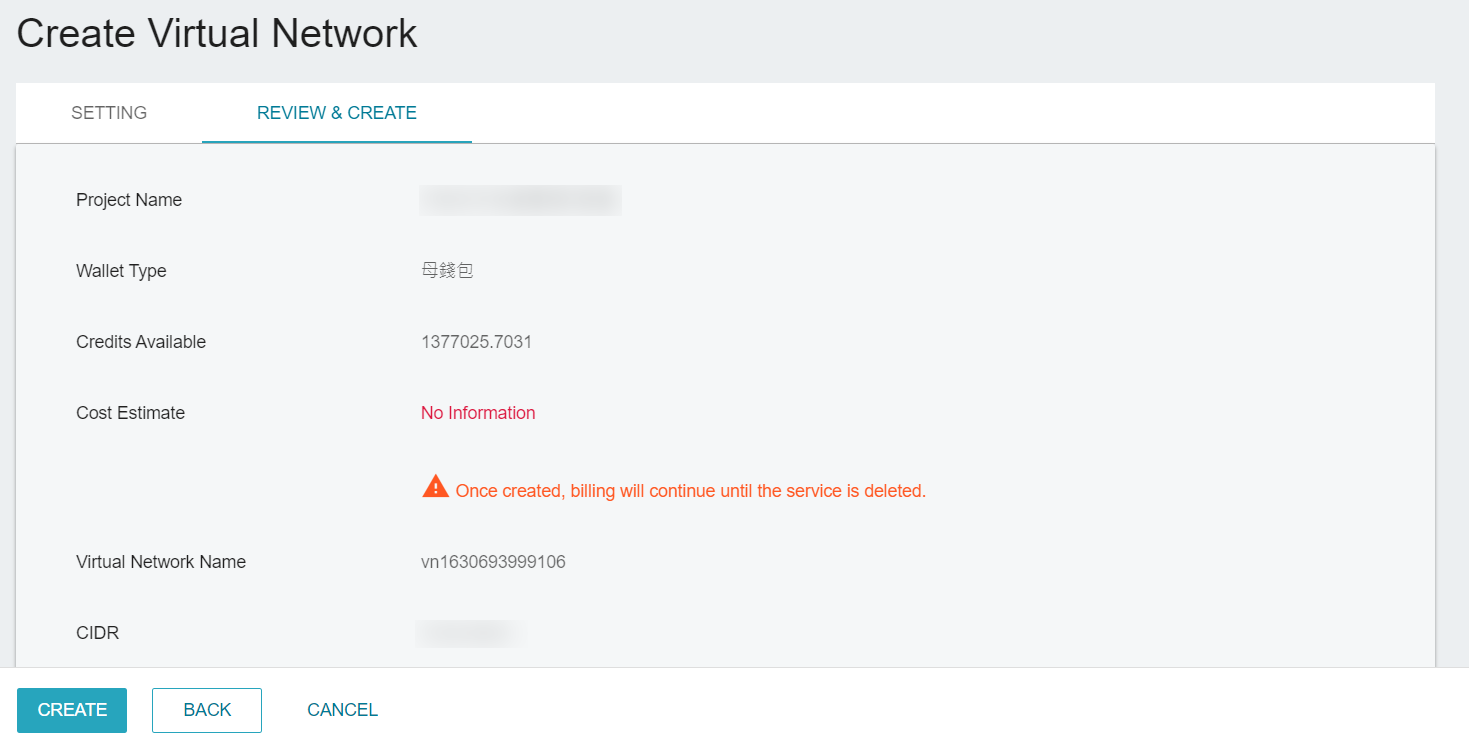
- Enter the Virtual Network setting information, and click NEXT: REVIEW & CREATE> after completion.
- Name: The name for the VNW, which cannot be repeated and cannot be change after creation.
- CIDR: Classless Inter-Domain Routing (CIDR), which specifies the address range of the VNW.
- Gateway: The default gateway.
- Check the Virtual Network settings and project credit information. Click CREATE once you have confirmed.
- Create a VNW with network segment
172.16.0.0/24and gateway172.16.0.254
twccli mk vnet -cidr 172.16.0.0/24 -gw 172.16.0.254
Manage virtual networks
View virtual network information
- In order to fully protect the security of VCS instances, the Virtual Network is limited to the following three default domain name servers (DNS). If you need to use other DNS servers, please contact Technical Support(isupport@twcc.ai):
- 101.101.101.101 (TWNIC)
- 1.1.1.1 (Cloudflare)
- 8.8.8.8 (Google)
- You will not be able to connect to VCS instances once the settings of network interface card are modified. Therefore, we strongly discourage you from changing the NIC settings. Please beware when operating and deploying.
- TWSC Portal
- TWCC CLI
- The newly created Virtual Network will appear at the top of the Virtual Network Management page. Wait for the status to change to ACTIVE before you can start using it.
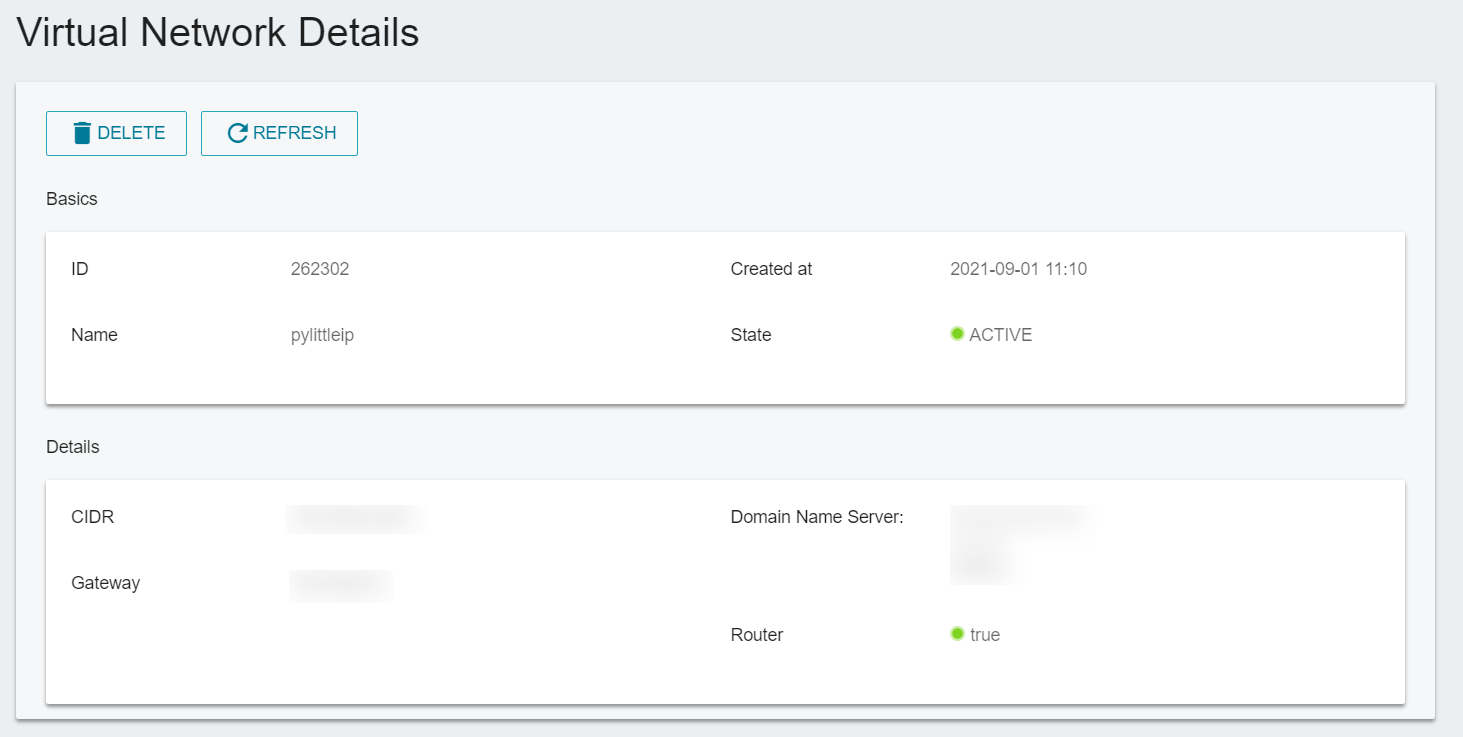
- Click on the Virtual Network on the list to view its detailed information.
- View all Virtual Networks.
twccli ls vnet

- View the details of a specific Virtual Network with ID
261894.
twccli ls vnet -id 261894

Delete a virtual network
- TWSC Portal
- TWCC CLI
- On the Virtual Network Management page > select the Virtual Network > click DELETE at the top.
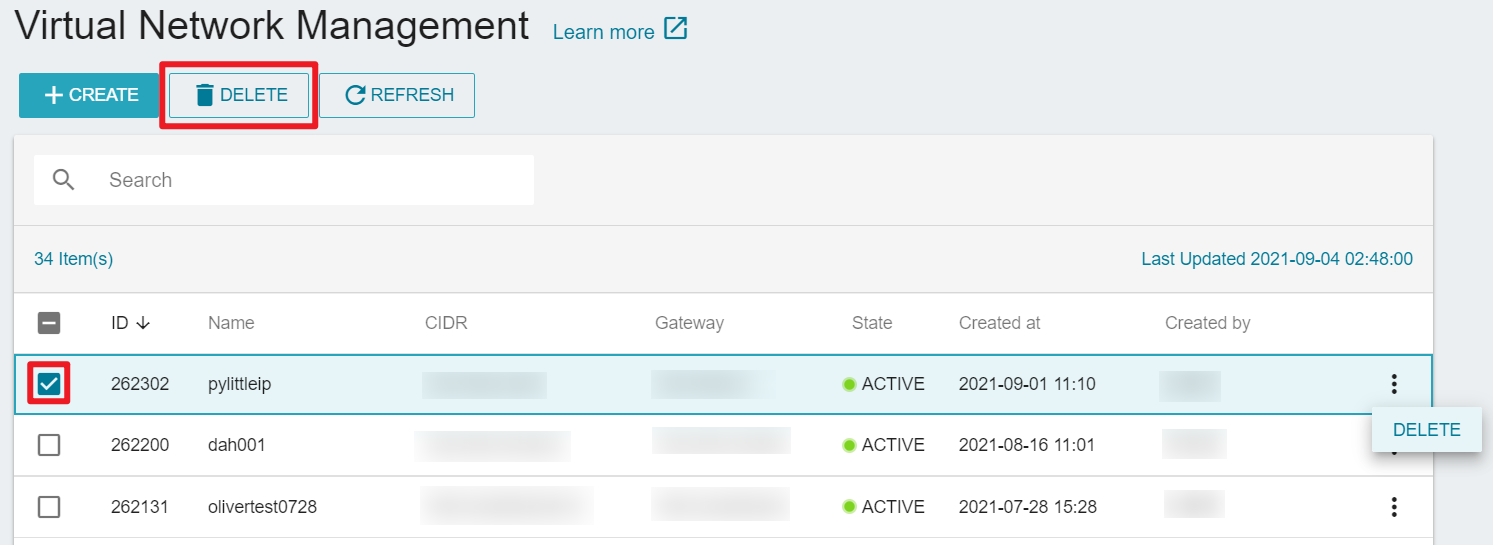
- Or click next to the Virtual Network > click DELETE.
- Or enter the Virtual Network Details page > click DELETE at the top.
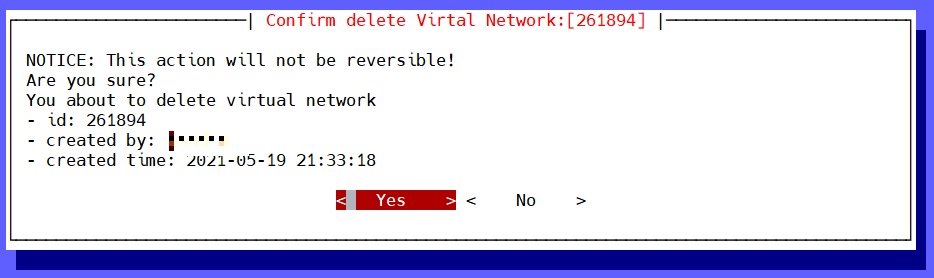
- Delete the Virtual Network with ID
261894.
twccli rm vnet -id 261894