Create and access clusters
This document will explain how to set up a cluster, and install kubectl to access the cluster. The compute node specifications support various VCS instance types. For detailed specifications and pricing, please refer to the price list.
Before we get started
- If you haven't sign up for a user account, please sign up for TWSC first.
- If you would like to operate with TWSC portal, please first sign in to TWSC portal, and go to Virtual K8s Service page.
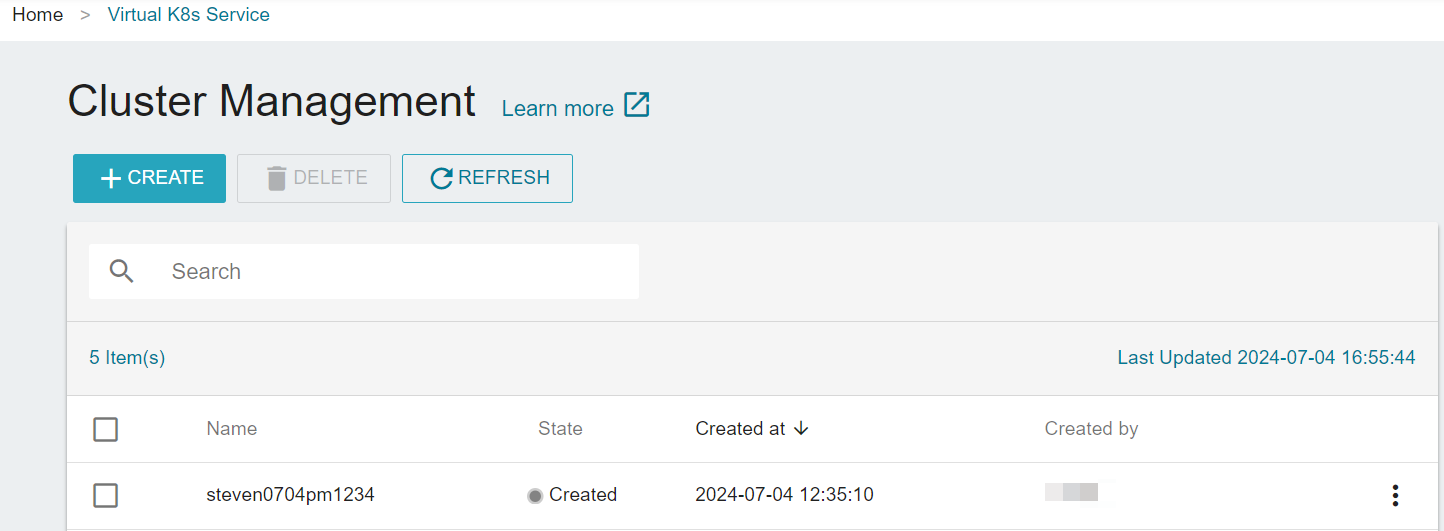
Create a cluster
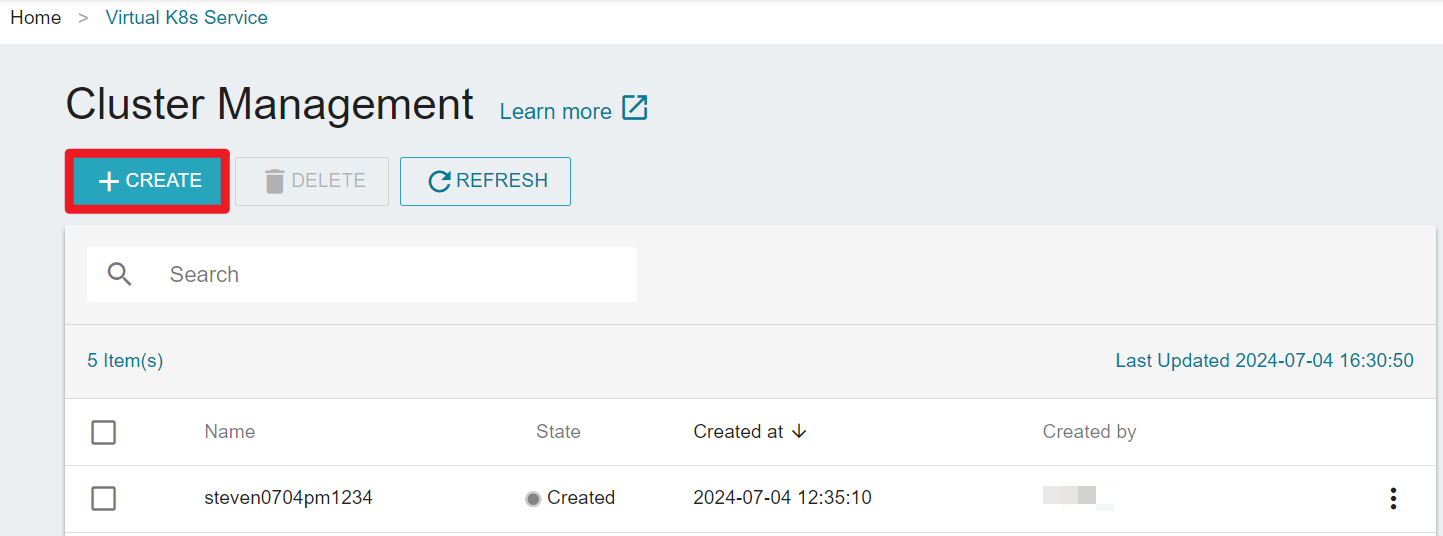
- On the Cluster Management, click +CREATE.
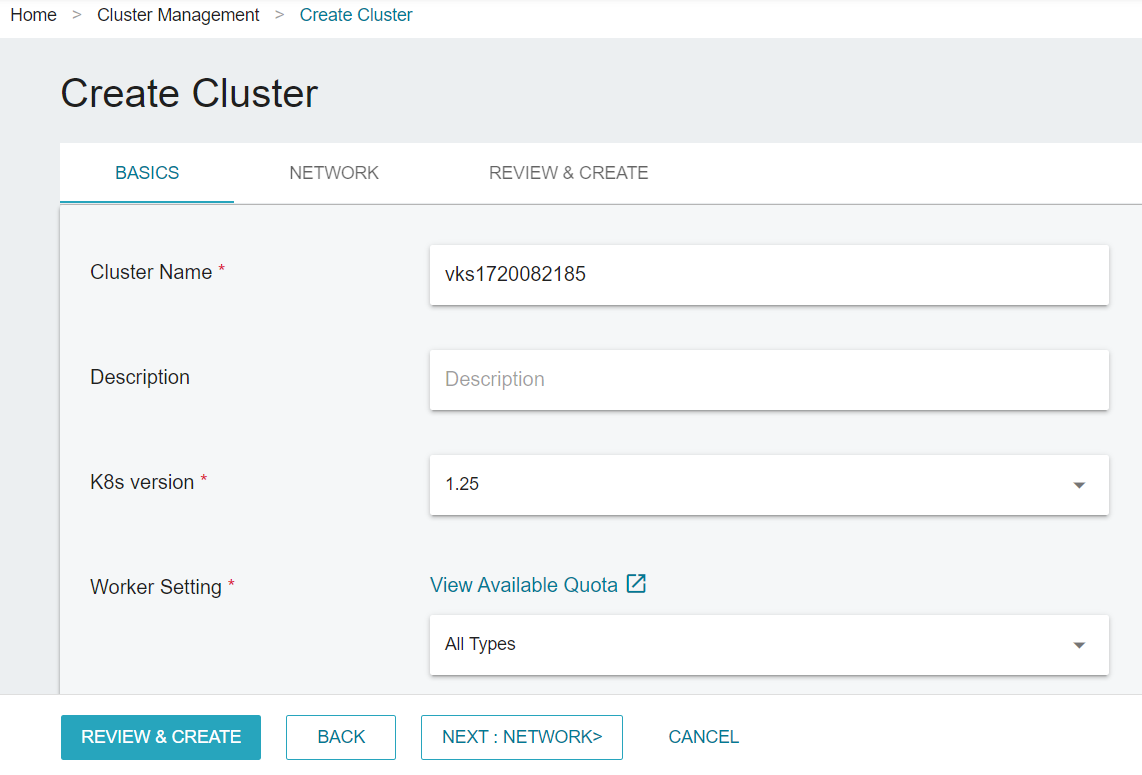
On the Create Cluster page, fill in the basic informations.
- K8s version:Current provided versions are: 1.23、1.24、1.25
- Worker Setting:The specifications of the worker nodes, including GPU, CPU, and memory.
- Worker Numbers:Compute nodes are referred to as Worker nodes, and you can adjust their numbers according to your needs after the cluster is created. Additionally, the system will automatically set up three Master nodes for you by default.
- Click NEXT:NETWORK>, select the Virtual Network, Public IP, and Security Group1.
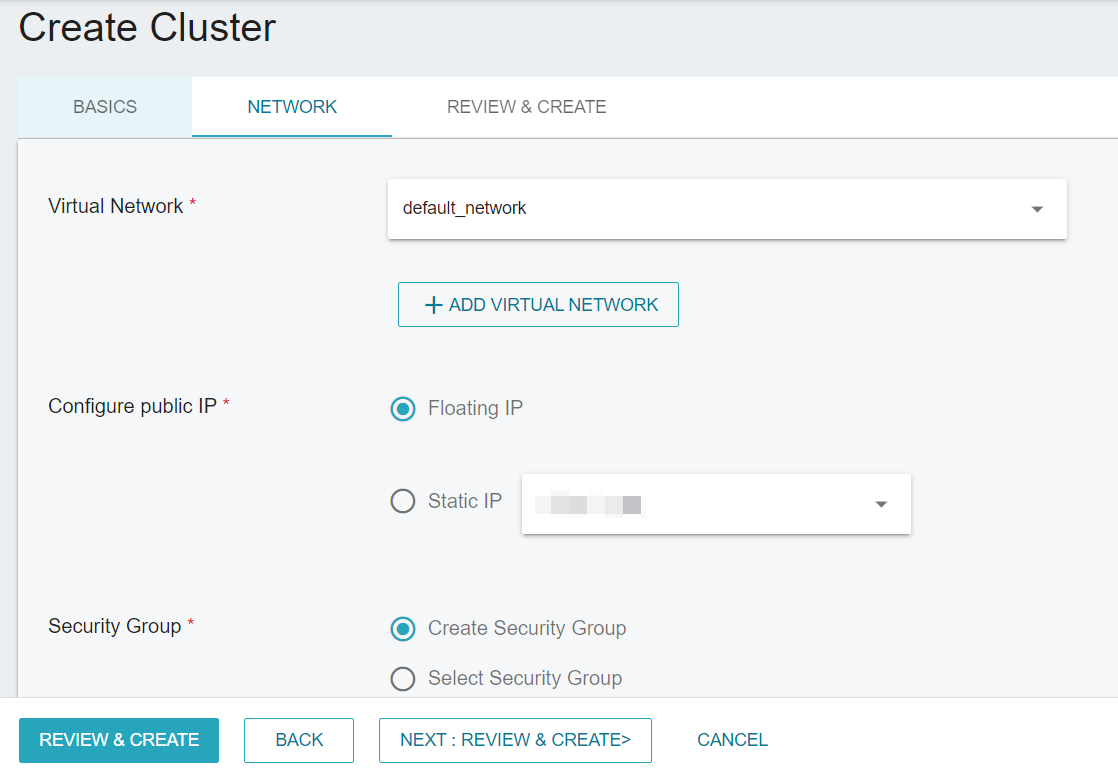
1 Please note that the security group you select must include a rule that allows ingress 6443 port.

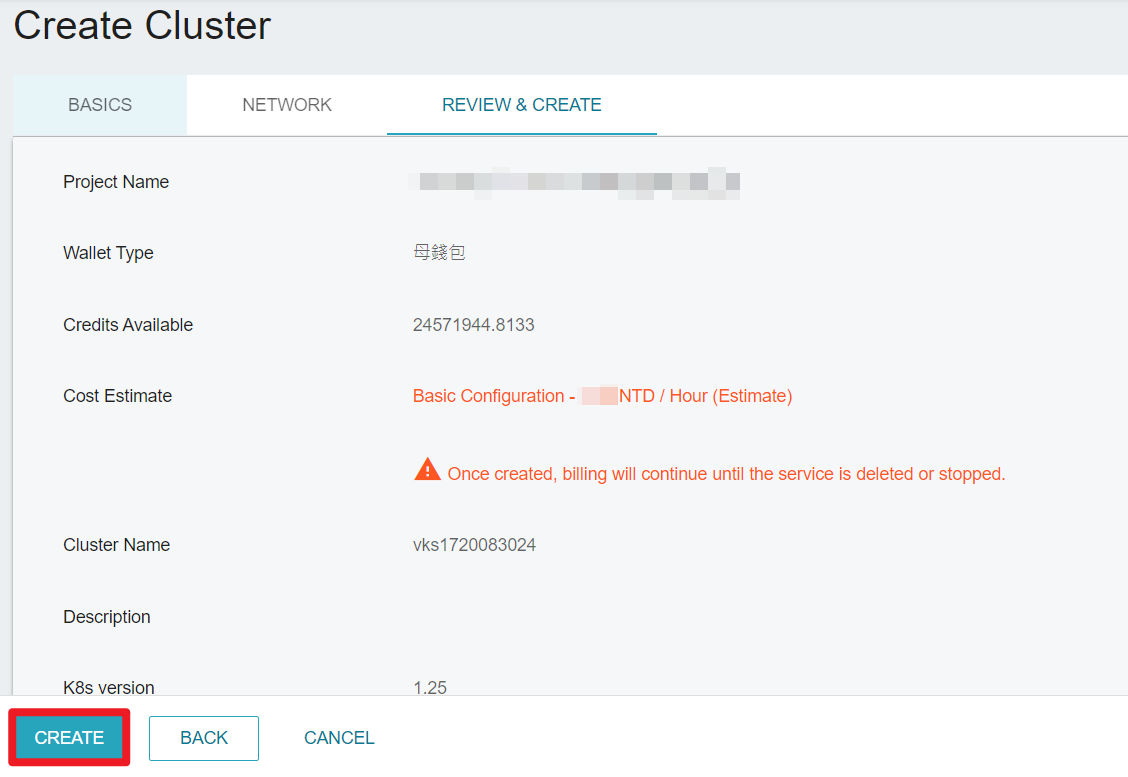
- Review the information and click CREATE.
- You can see the created cluster on the Cluster Management page. You can perform operatoins on the cluster after the state turns
Created.
It may take some time for the cluster to be created. You cannot perform any operations on the cluster when it's in the Creating state.
Install kubectl to access the cluster
kubectl is a Kubernetes command-line tool that allows you to manage VKS clusters. With this tool, you can deploy applications, view and manage cluster resources, and access logs.
Below is an installation example using TWSC VCS (Ubuntu 22.04). For installation on Windows and macOS, please refer to this document.
Step 1. Download the kubectl binary
curl -LO "https://dl.k8s.io/release/$(curl -L -s https://dl.k8s.io/release/stable.txt)/bin/linux/amd64/kubectl"

Step 2. Validate the binary
- Download the checksum file.
curl -LO "https://dl.k8s.io/release/$(curl -L -s https://dl.k8s.io/release/stable.txt)/bin/linux/amd64/kubectl.sha256"

- Validate the binary.
echo "$(cat kubectl.sha256) kubectl" | sha256sum --check
- If valid, the output is:
kubectl: OK

Step 3. Install kubectl
sudo install -o root -g root -m 0755 kubectl /usr/local/bin/kubectl
Step 4. Check the kubectl version
kubectl version --client

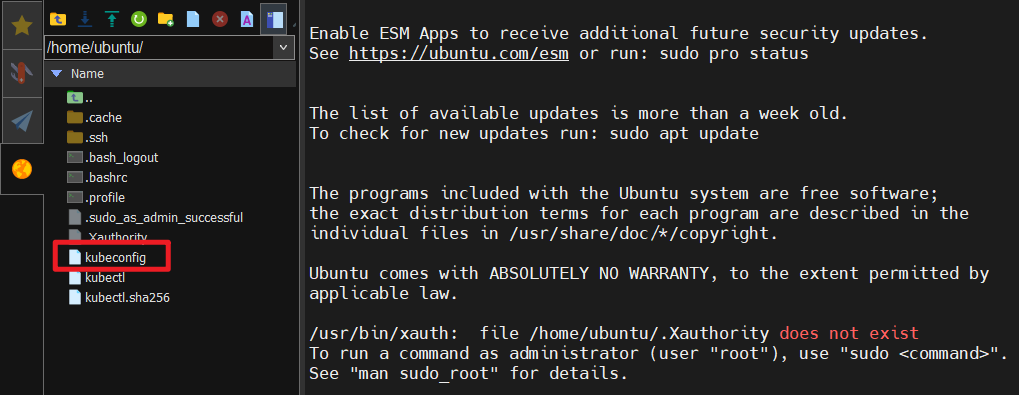
Step 5. Upload kubeconfig file to your VCS instance
- Go to Virtual K8s Service Details to download the kubeconfig file.
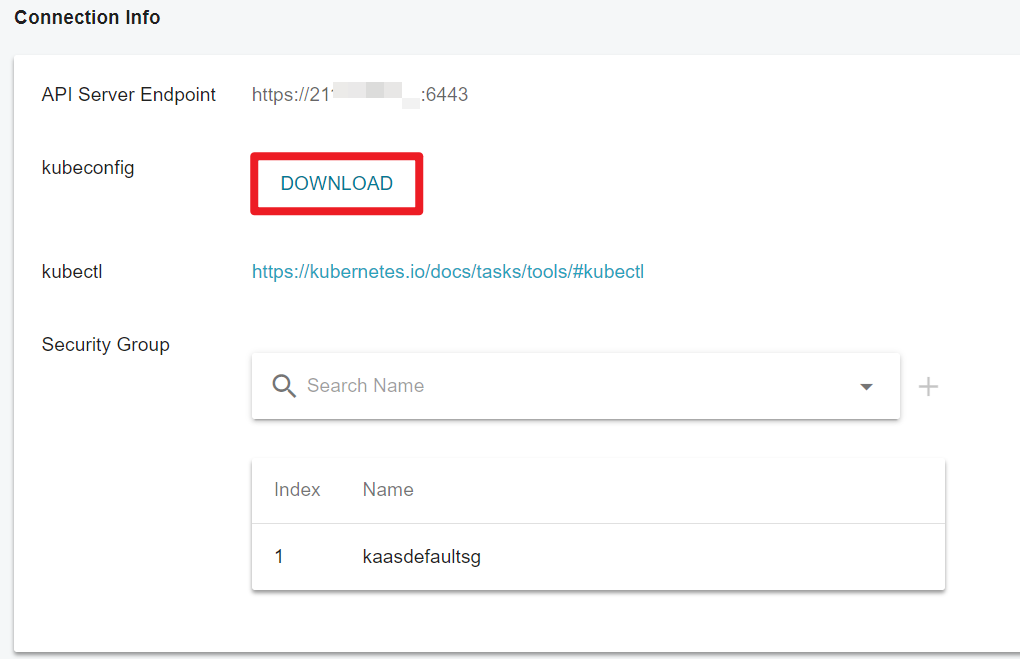
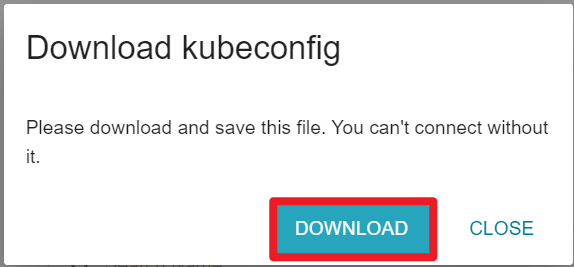
Please keep the kubeconfig file properly. Once lost, it cannot be downloaded again.
- Upload the file to your VCS instance.
Step 6. Set environment varialbles
export KUBECONFIG=/home/ubuntu/kubeconfig
Step 7. Get cluster information
kubectl cluster-info
- If you see the following output, it means that kubectl can now access the cluster successfully.
 `
`
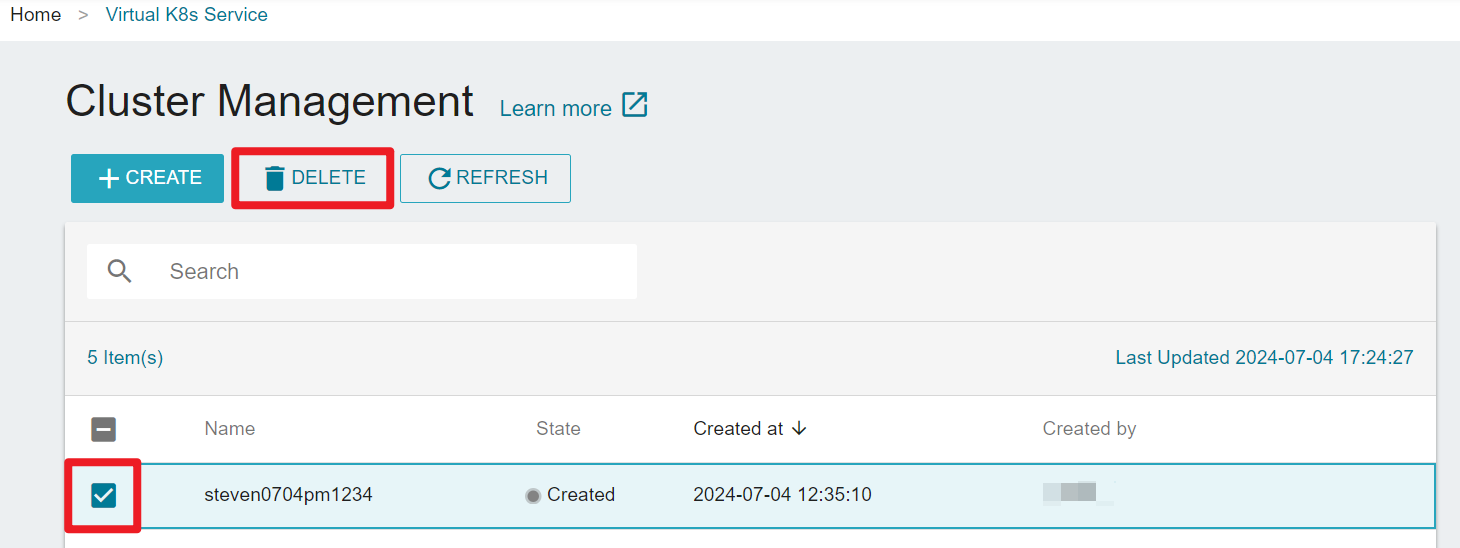
Delete a cluster
- On the Cluster Management page, select the cluster you want to delete, or click on the , then clicke DELETE.

A cluster can only be deleted when it's in the created, updated or error state.